


Opening the door to your kitchen cabinets only to see stale cereal dust and sticky jam stains can make your stomach turn. Peering into a crusty stove or microwave with science experiments growing in the corners makes you want to call the hazmat team. Don’t panic – even the grottiest kitchen can become sparkling clean with the right tips and techniques.
This comprehensive guide walks you through a complete top-to-bottom kitchen deep cleaning. Arm yourself with cleaning supplies, roll up your sleeves, and get ready to wash every nook and cranny. Wave goodbye to greasy buildup and messy spills, and say hello to a kitchen that will make Martha Stewart proud.
Assemble Your Cleaning Arsenal
You need the right tools to tackle kitchen grime and dishwasher gunk. Stock up on these cleaning basics before diving in:
Cleaning Tools
Spray bottle
Microfiber cloths
Clean towel
Sponges
Rubber gloves
Old toothbrush
Stand mixer
Cleaning Ingredients
Baking soda
Baking sheets
White vinegar
Lemon juice
Dish soap
Hydrogen peroxide
Step-By-Step Guide to a Spotless Kitchen
Cleaning everything in one mammoth session leads to fatigue and dissatisfaction. Break the big job into smaller pieces so each feels manageable.
Follow this meticulous top-to-bottom bathroom cleaning checklist to leave no surface neglected and no speck of grease spared.
1. Clear and Prepare Surfaces
- Remove everything from countertops, stovetops, tables, etc.
- Gather crumbs, food particles, piles of mail into garbage
- Give all a thorough wiping to dispose of any remaining debris
Tidy tops allow you the space to truly see the dirt and grime needing attention.
2. Clean Inside Kitchen Appliances
Focus on hidden gunk accumulating inside your hardworking stove and kitchen appliances:
Microwave
- Combine 1 cup water and 1⁄4 cup lemon juice in a safe bowl
- Microwave on high for 5 minutes so steam can loosen caked-on food splatter
- Carefully remove bowl
- Wipe down interior surfaces with a cloth or clean towel
- Wash the turntable and rack it in warm, soapy water
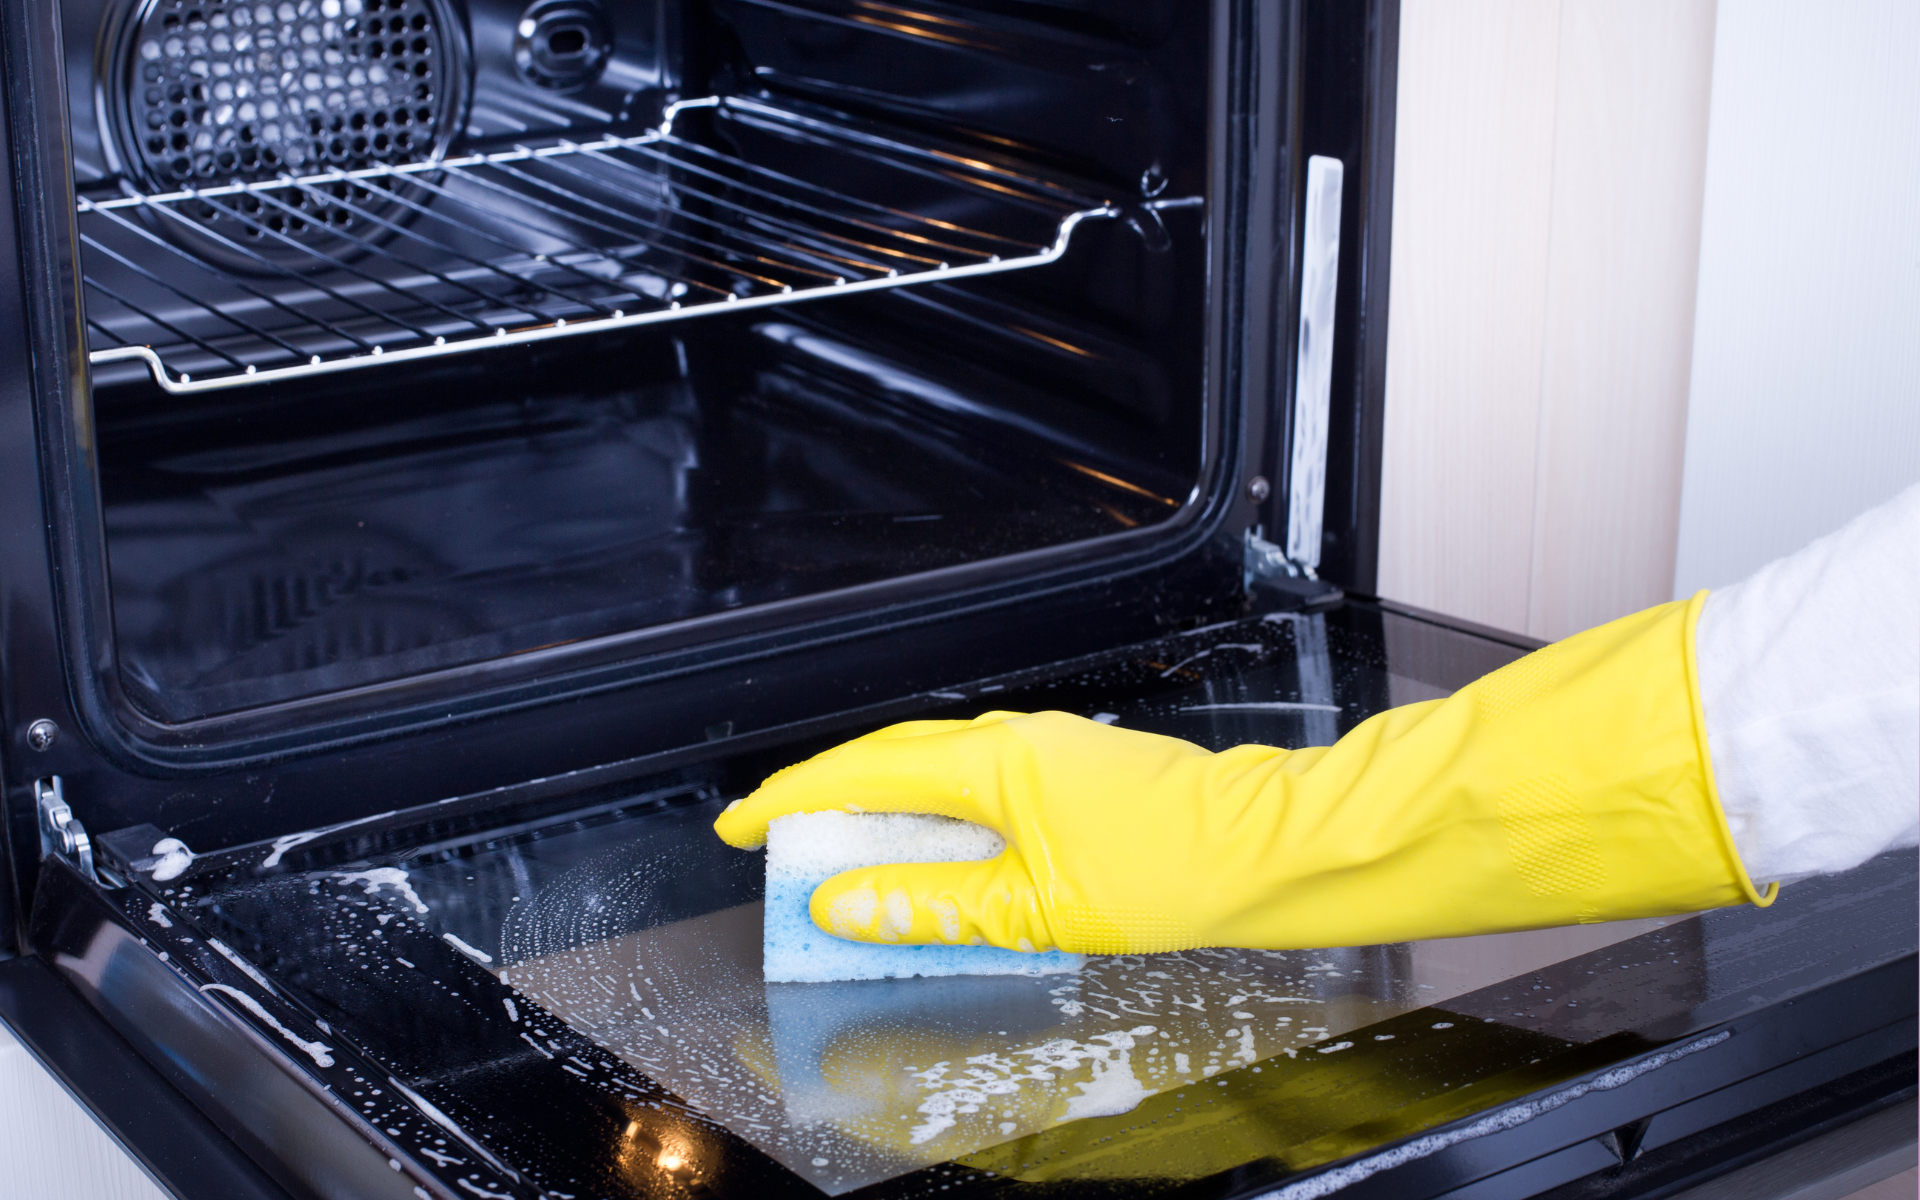
Oven
- Remove oven racks and soak in a foil-lined baking sheet filled with warm water and dish soap
- Apply oven cleaner according to package instructions inside the cold oven
- Let the cleaner sit for the time indicated on the label
- Use a sturdy brush and rubber gloves to remove grime
- Wash thoroughly
Refrigerator
- Toss expired food from the fridge and freezer
- Remove shelves and drawers
- Wash removable parts in the sink with hot, soapy water
- Replace clean shelves and drawers
Dishwasher
- Remove debris trapped in the filter
- Place a bowl of vinegar on the bottom rack
- Run the empty dishwasher through the hottest cycle
- Use a toothbrush to scrub away soap scum around door seals
3. Scrub the Inside Oven
Over time, baked-on grease turns your oven into a grimy mess. Transform it with some elbow grease:
- Combine baking soda and water into a spreadable paste
- Apply the paste using a brush
- Let sit for 20 minutes so it can dissolve the gunk
- Don heavy-duty rubber gloves
- Use a brush and hot water to remove the paste
- Repeat if needed for stubborn areas
- Rinse until all paste residue removed
- Wipe dry with a clean cloth
- Restore racks once dry and shiny
4. Scour Sinks and Dishware
Kitchen sinks face an onslaught of food bits, greasy residue, globs of toothpaste, and more. Make them shine:
Kitchen sinks
- Remove strainers and give them a bath in soapy water (tip – use an old toothbrush to clean the drain catch)
- Pour 1⁄2 cup baking soda down a drain
- Follow with 1 cup of hot vinegar
- Let foam bubble up and drain for 10-15 minutes to dissolve the gunk
- Drain thoroughly with hot water
- Use a scrub brush and toothbrush to clean sink basin, tub, faucet, handles, and backsplash
Washing Dishes
- Fill one sink with hot water and a few squirts of Dawn dish soap
- Fill the second sink with hot clean water for rinsing
- Soak crusty cooking vessels to loosen baked-on food
- Use abrasive sponges and brushes to remove stubborn messes
- Rinse all pots, pans, and dishes thoroughly before drying
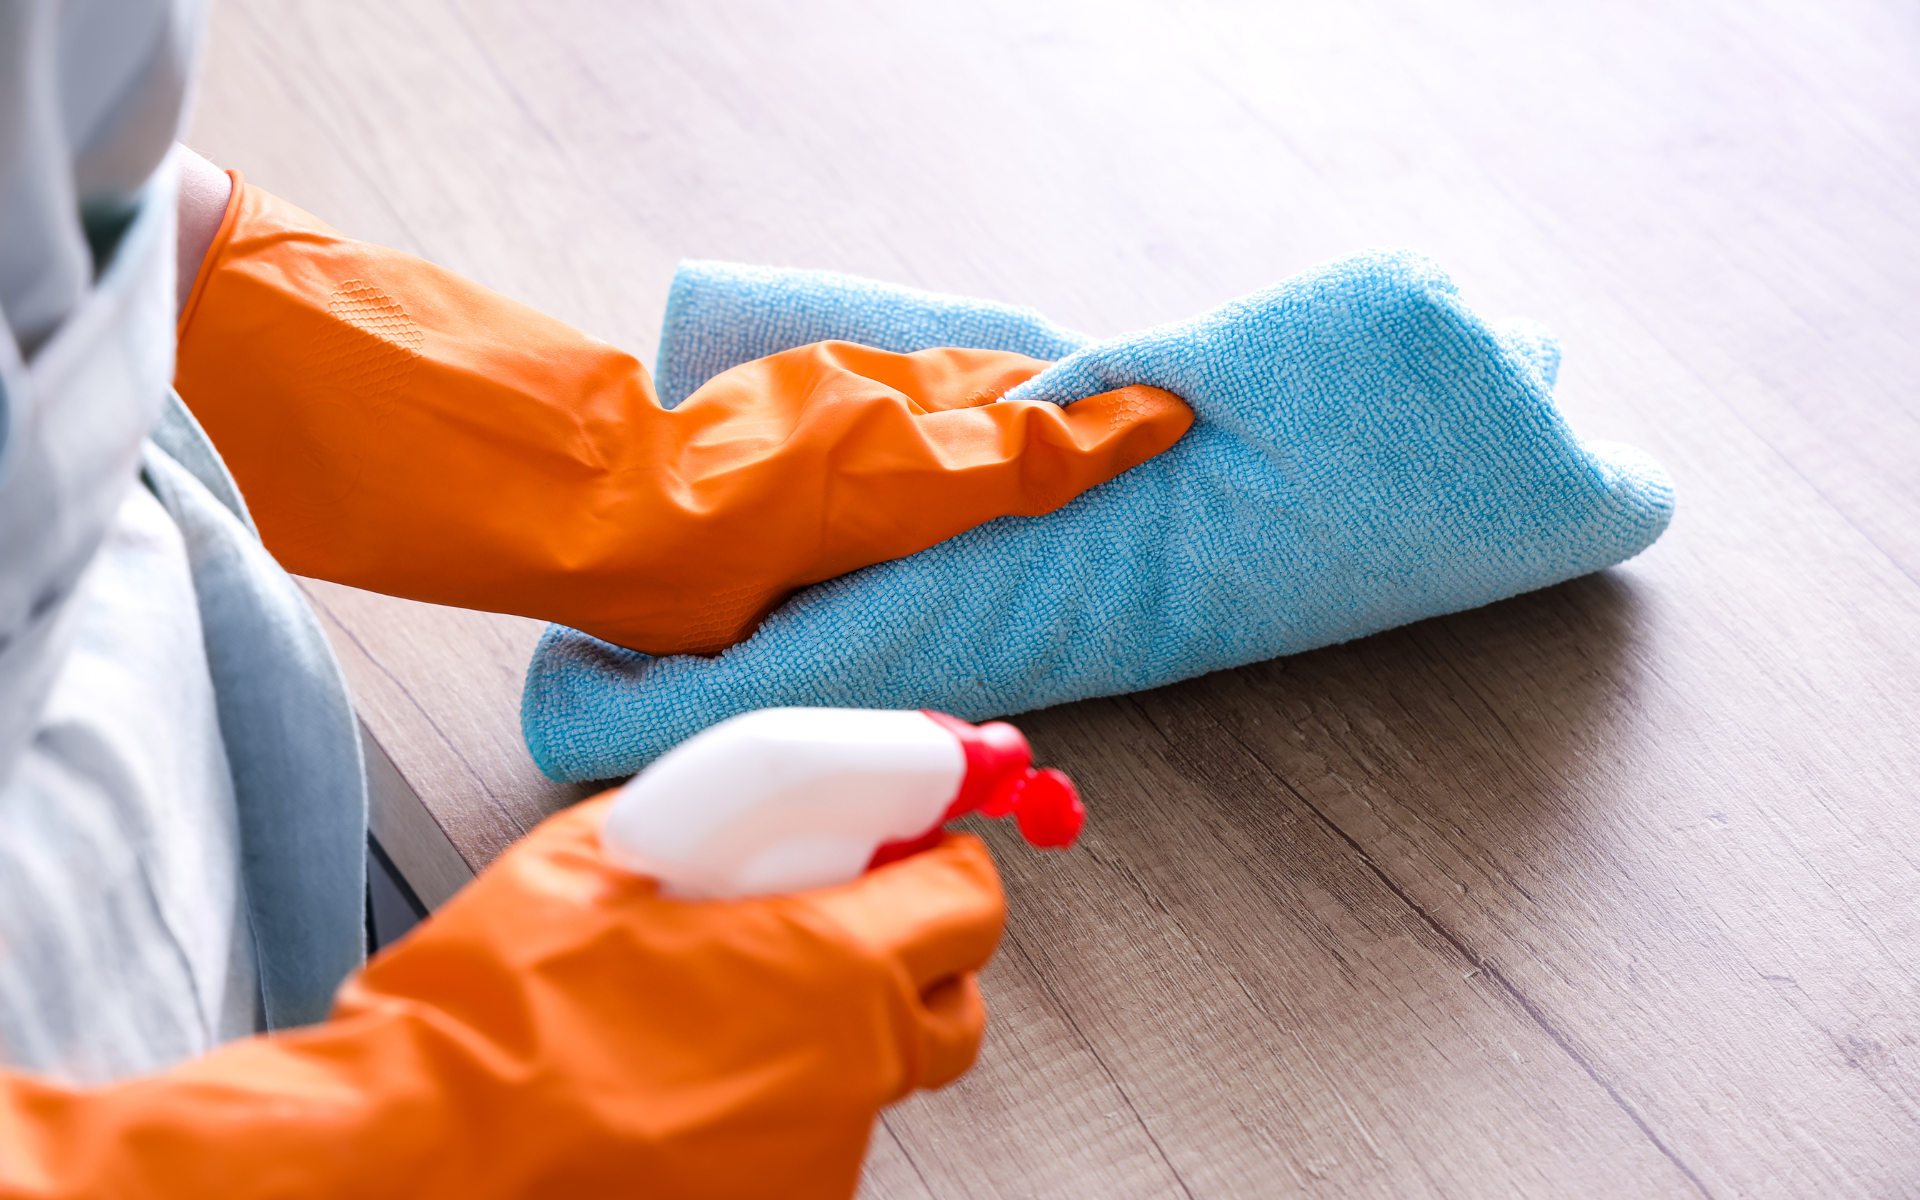
Glassware
- Combine 1 part vinegar with 3 parts warm water in a spray bottle
- Spritz mixture onto glass surfaces and mirrors
- Wipe down with a newspaper or microfiber cloth for a streak-free shine
5. Wash Inside and Out of Cabinets
- Remove everything from cabinets and drawers
- Use a microfiber cloth to remove dust and debris from cabinet shelves
- Mix your cabinet cleaner by combining:
- 2 cups warm water
- 1⁄4 cup white vinegar
- 5 drops of Dawn dish soap
- Dab mixture onto cabinets then wipe thoroughly
- Take special care to scrub grimy cabinet doors and handles
- Use a toothbrush to grout lines cleanly
- Rinse well
- Allow cabinets to completely dry
- Replace dishes in a squeaky-clean home

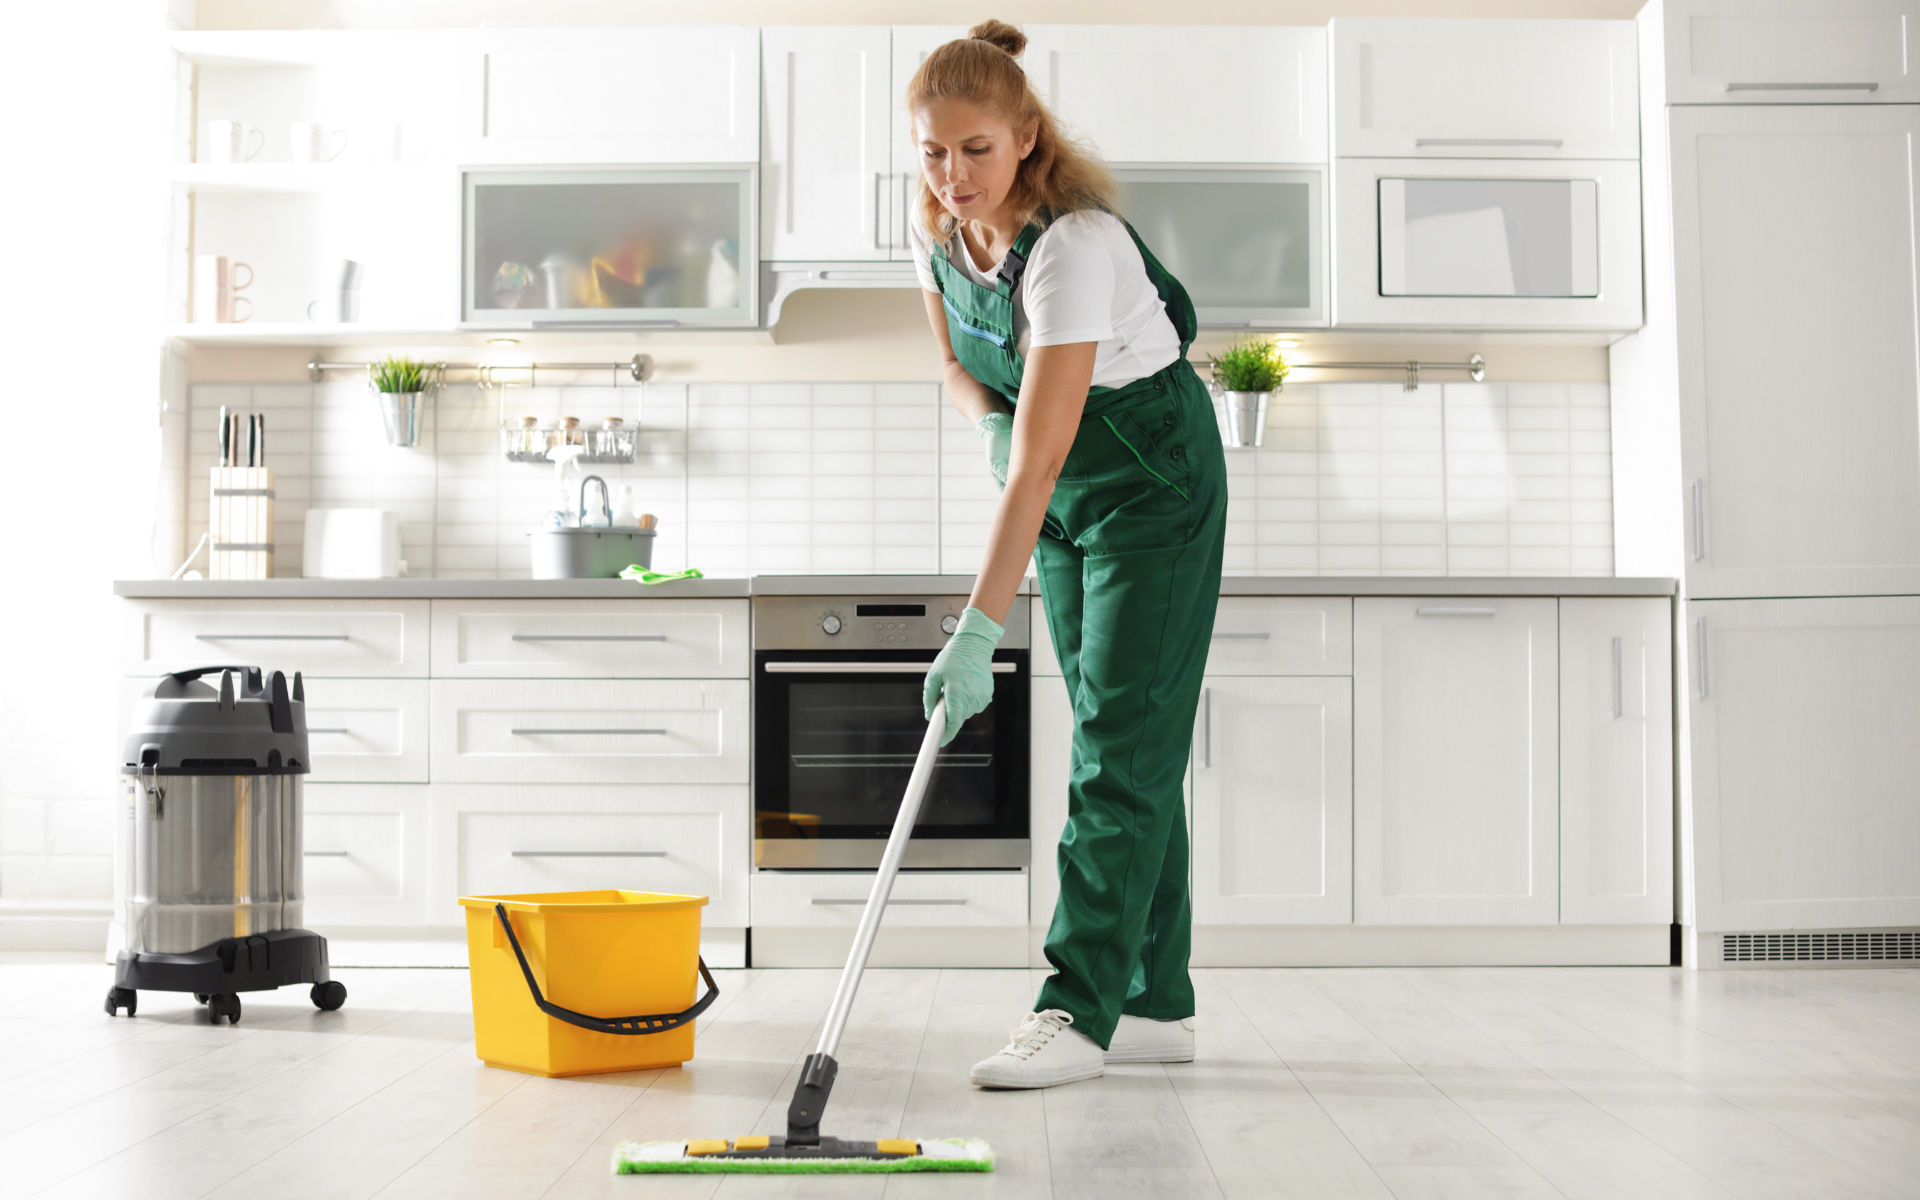
6. Clean Kitchen Floors
- Sweep debris from all floor areas, getting into corners and crevices
- Mix your preferred floor-cleaning solution
- Mop solution over floors, dipping mop head frequently
- Wash mop and change the cleaning mixture often
- Allow floors to completely dry
7. Garbage Disposal
- Remove tied-off trash bags from waste bins
- Clean inside and out of garbage cans with soapy water
- Allow to fully dry
- Insert heavy-duty replacement bags
8. Complete Final Touches
- Wipe down all recently cleaned spaces
- Replace small appliances and cookware items in cabinets
- Stand back and admire your sparkling, revitalized kitchen!
Go-To Quick Cleaning Tips
What about weekday evenings when you don’t have time for an entire kitchen overhaul? Use these speedy and efficient mini-cleaning sessions whenever grime strikes:
- Clean as you cook. Immediately blot spills, sauce splatters, etc. so they don’t dry into a crusty mess.
- Clear countertops completely. Remove everything from counters at the end of each day for a quick wipe-down.
- Clean with baking soda. Sprinkle baking soda onto greasy areas like oven doors, stovetops, and undersides of vents. Let sit before scrubbing and wiping away grime.
- Refresh cutting boards properly. Give wooden cutting boards a regular scrub with hot water. Apply food-grade mineral oil monthly to maintain the wood.
- Never pile dirty dishes. Fill the sink or dishwasher as needed to prevent backup. Take time when unloading clean dishes so they don’t clutter counter space.
- Check expiration dates. Regularly comb through fridge and pantry items to spot old or moldy food needing disposal. Out with the old!
- Remove trash ASAP. Don’t let stinky things fester. Take out garbage daily.
- Clean the sink every night. Make it part of your closing kitchen routine to give the sink a hot water rinse followed by a wipe-down.
- Tackle appliance exteriors. When they look smudgy between deep cleans, lightly apply stainless steel or other surface-appropriate cleaner and wipe away grime.
- Refresh tired dishcloths. Replace dirty smelly ones often so you don’t spread germs while cleaning other areas.
Cleaning Motivation From the Pros
Kitchen cleaning doesn’t have to feel miserable. Follow the pros below for more incredible kitchen cleaning tips and inspiration:
Melissa Maker: Check out her YouTube videos like “How to Clean the Inside of Your Oven FAST.” Her satisfying before-and-afters will have you grabbing those rubber gloves.
Martha Stewart: Martha shares clever solutions like using lemon slices to disinfect cutting boards. Browse her ideas to build your dream cleaning arsenal.
Real Simple: This magazine cookout and website page are full of speedy shortcuts for tired cooks, like tackling messes.
In Closing
Save time on your next kitchen deep clean by following the example laid out in this guide. Treat your kitchen like a well-oiled machine by tackling cleaning in an orderly, step-by-step manner. You likely felt overwhelmed the last time you faced kitchen grime without a plan. But with the tips outlined here, you can confirm the job is conquerable. Stay motivated by keeping an image in your mind of how incredible that shiny, sparkling kitchen will look when all is said and done. No more dreading the dirty job or stuff stuck to pans at dinner time. A clean, tidy kitchen awaits you – now grab your supplies and get scrubbing! Positive feedback from family members no longer grumbling about dirty dishes will follow.