

Hardwood floors are a beautiful and classic addition to any home. But keeping those wood floors in pristine condition? That’s the tricky part. Between the daily traffic of kids, pets, dust, and everyday grime tracked in from the outdoors, hardwood cleaning can feel like an uphill battle. Well, if you need a guide to hardwood cleaning tips, we got you covered!
Well, there are cleaning services you can hire, but if you don’t have the money to hire and have enough time to do the cleaning yourself, we’ve got you covered with all the tips and tricks you need to keep your hardwood flooring looking shiny and new. From the best hardwood flooring cleaners to genius stain removal hacks, this guide will have your wood floors positively gleaming. Let’s dive in!
The Tools You Need for Hardwood Cleaning
First things first, you’ll need to assemble the right tools for the job. You can’t just attack the hardwood flooring finishes with any old cleaning products – that’s a recipe for dulling or even damaging that gorgeous wood floor’s finish.
- Microfiber dust mop
- Dry mop
- Hardwood floor cleaners designed for sealed wood floors
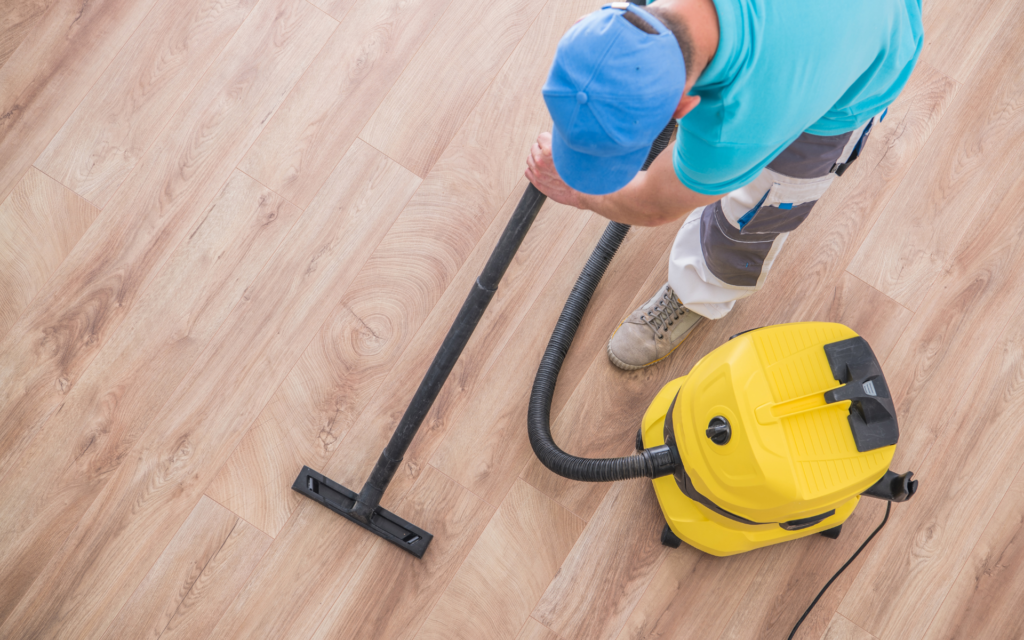
- Vacuum with hardwood floor setting/brush attachment
- Broom and dustpan
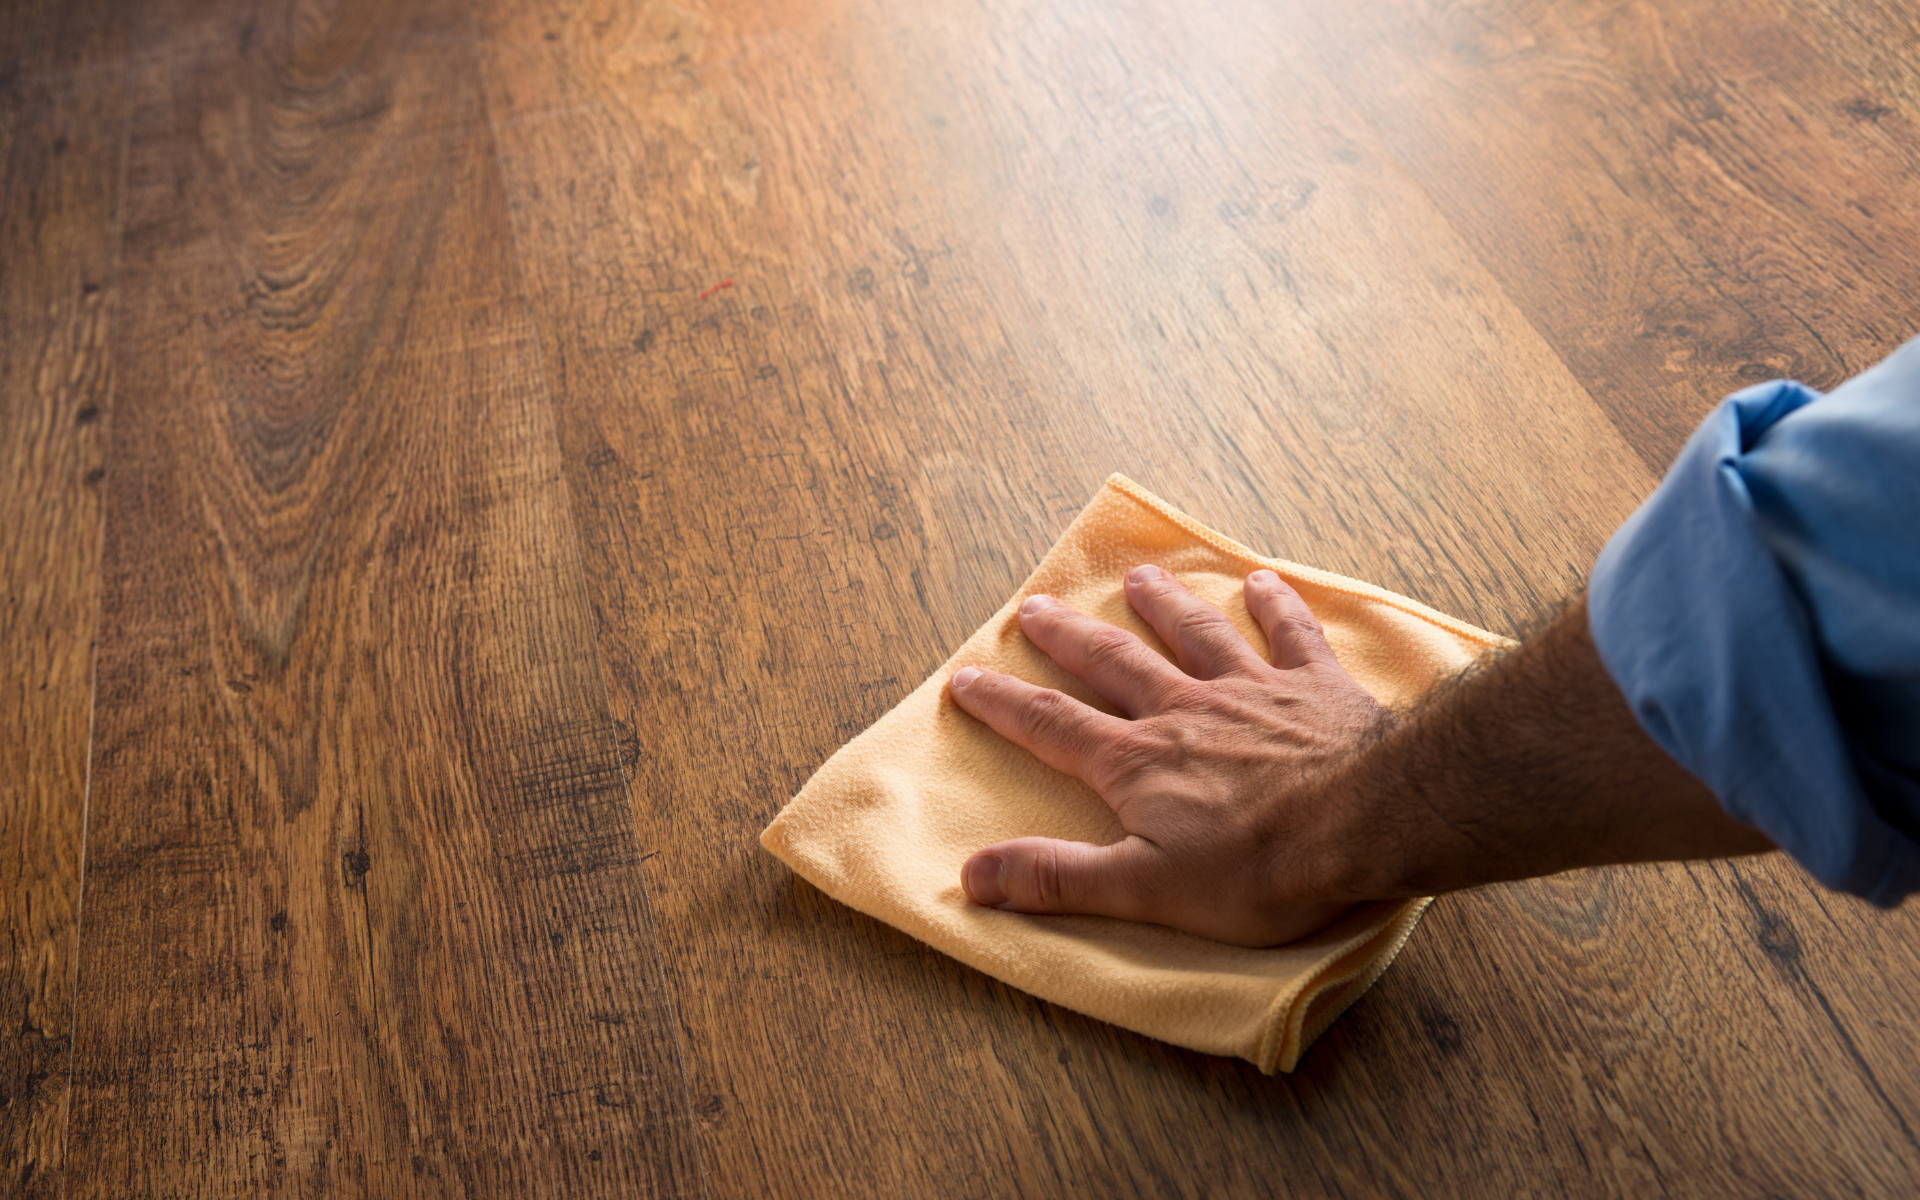
- Microfiber cleaning cloths
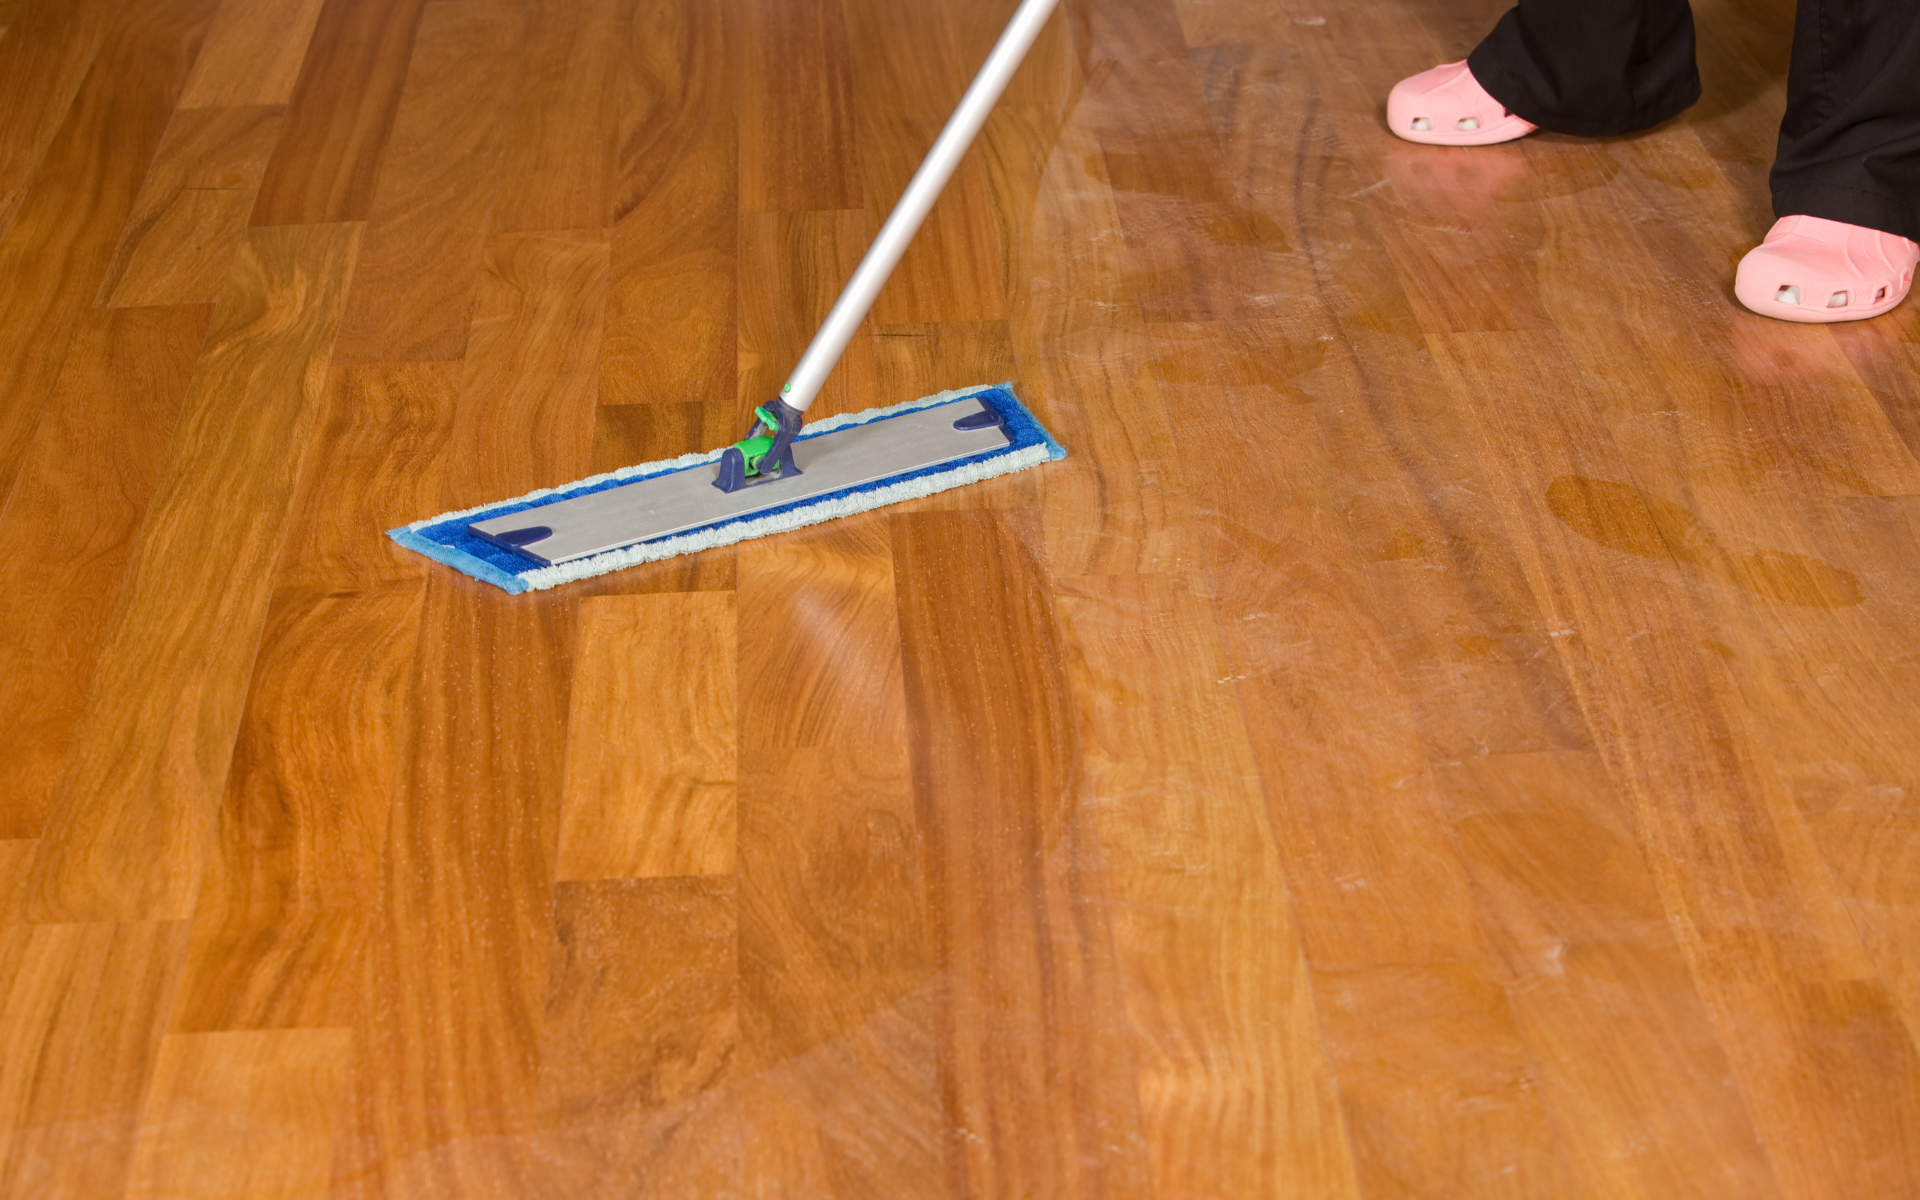
- Wood floor cleaning machines (spray mops, oscillating pads)
- Baking soda for spot cleaning
- Hydrogen peroxide for stain removal
- Mineral spirits for tough grime
- Wood floor polishes and restorers
- Wood markers/wax sticks for scratches
- Fine grit sandpaper (220+) for refinishing
With the right tools in your arsenal, you’re ready to battle gunk and grime like a pro!
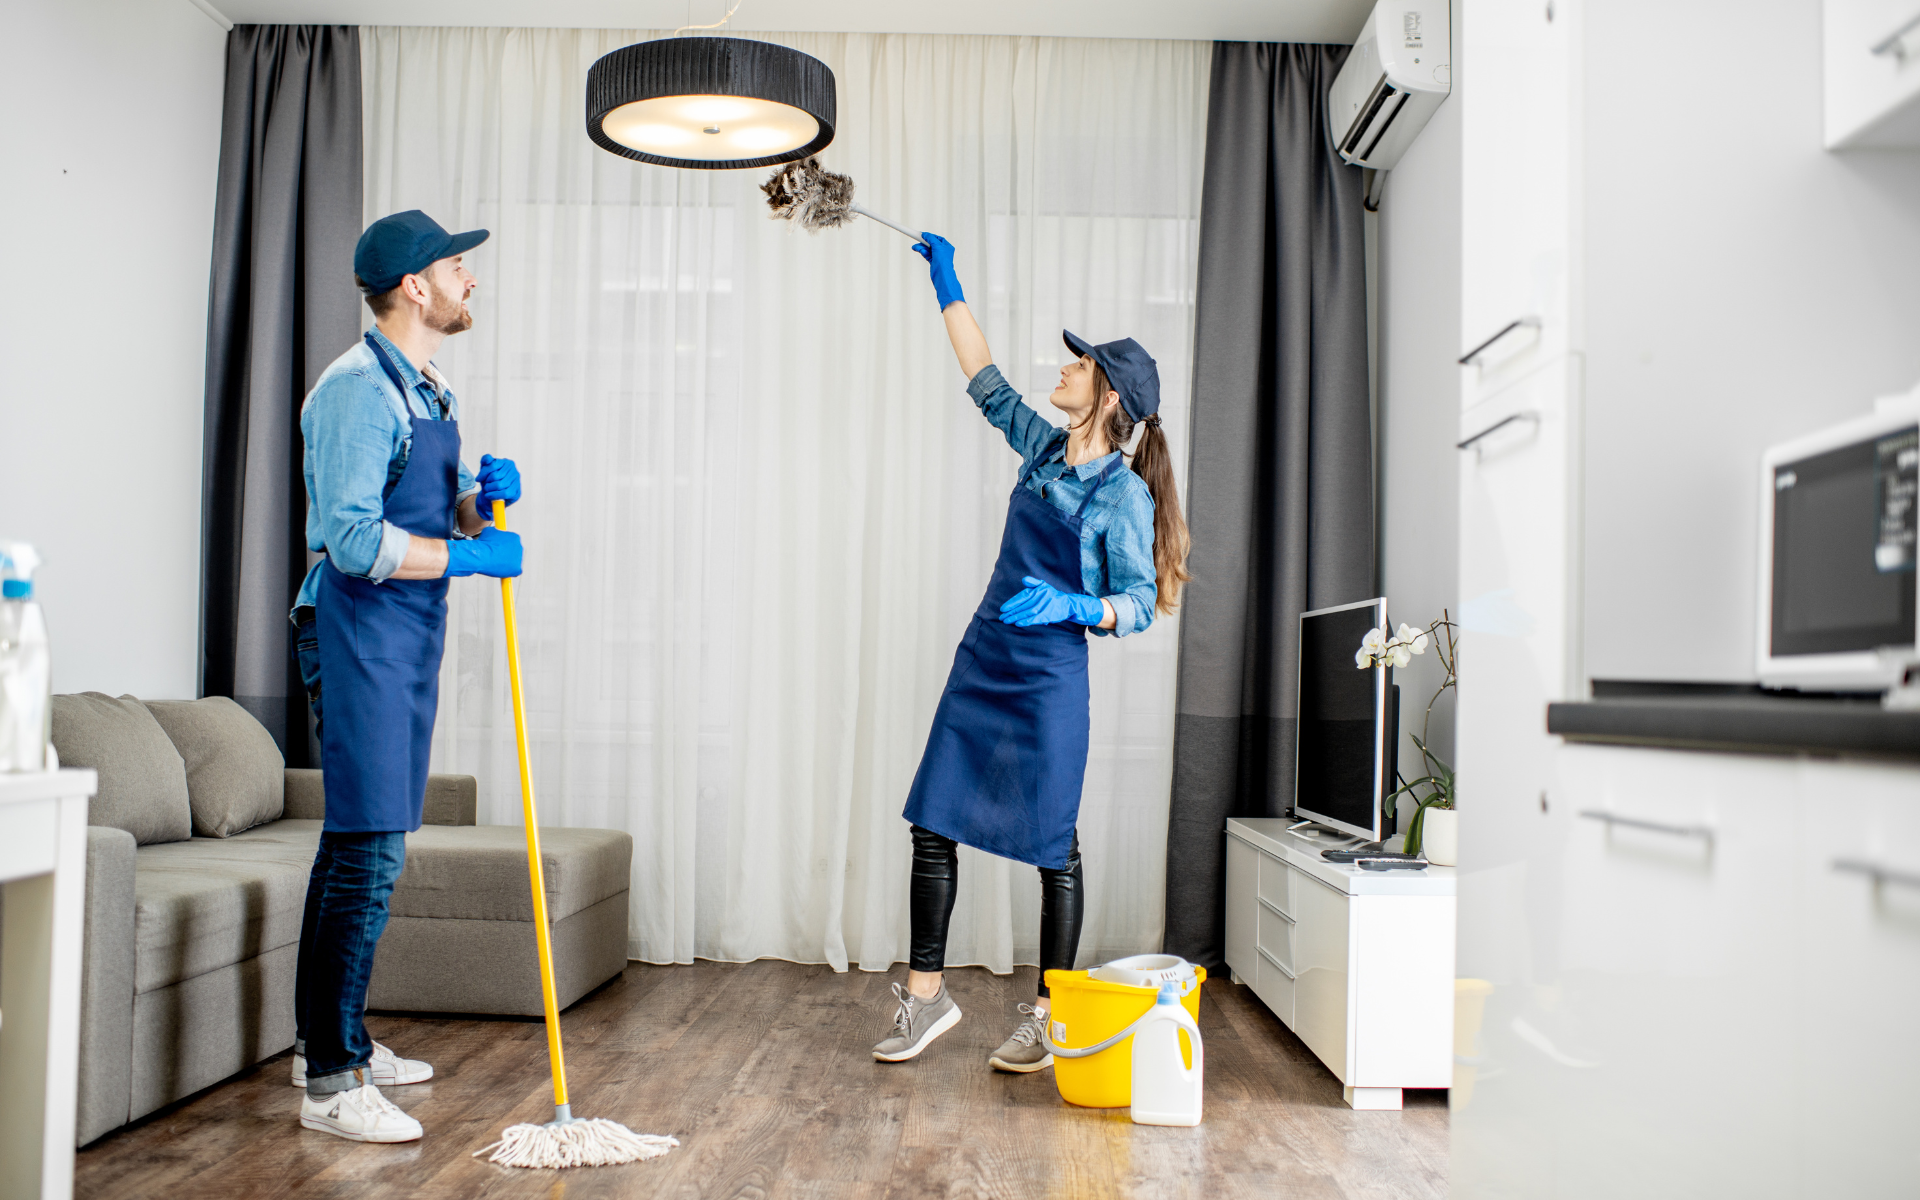
Hardwood Floor House Cleaning: The Step-by-Step Guide
Now that you’ve got your hardwood floor cleaning kit assembled, let’s break down the process of how to clean hardwood floors from top to bottom:
- Do a simple sweep or vacuum to remove any loose dirt, dust, or debris from the floor’s surface. This first pass will pick up the big stuff before you start mopping.
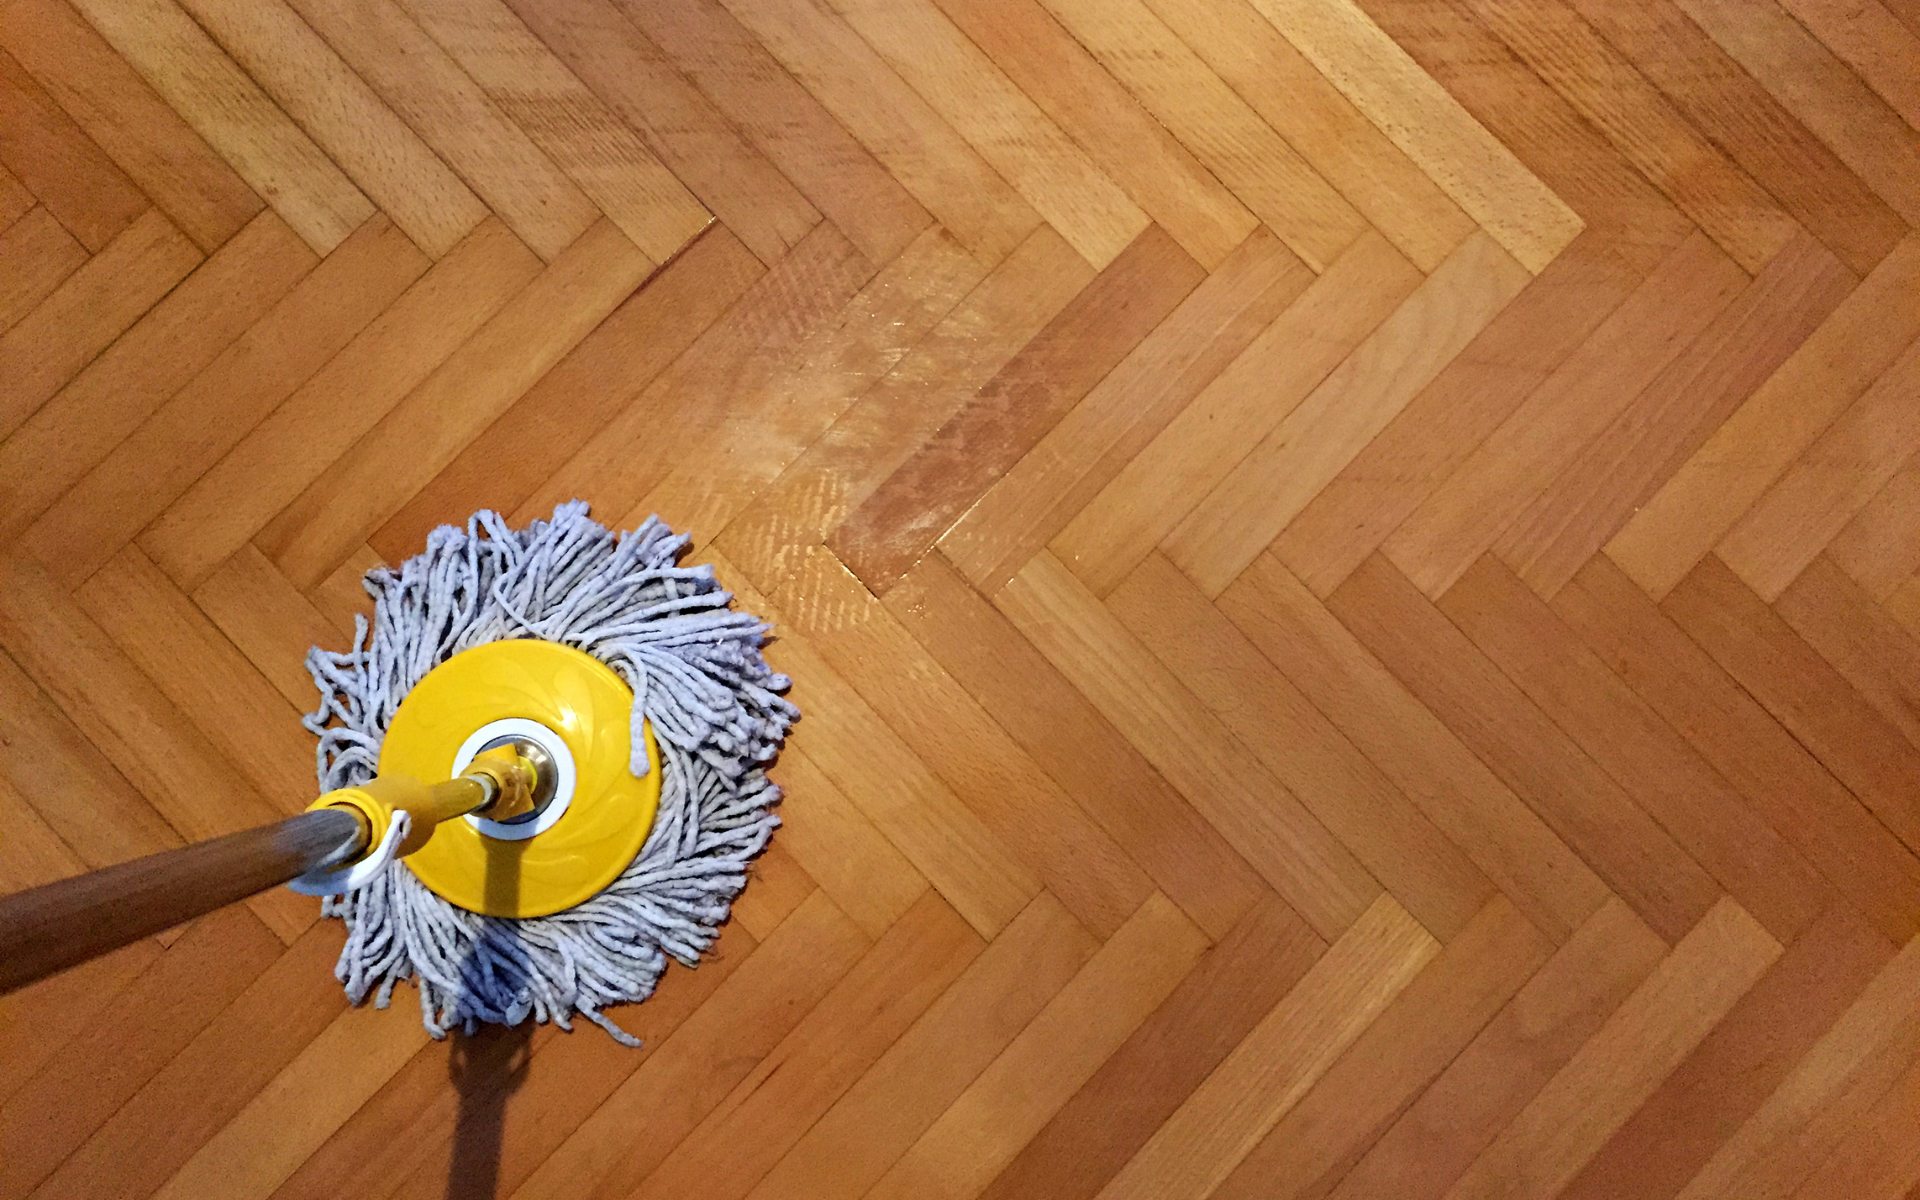
- Next, fill your microfiber spray mop reservoir with your chosen cleaning solution. For a store-bought hardwood floor cleaner, follow the dilution instructions on the bottle. If going the DIY vinegar route, use a 1:1 ratio of distilled white vinegar to warm water.
- Mop in sections, spraying a light mist ahead of you as you work across the hardwood floors. The key is using as little liquid as possible – you want the floors damp but never soaking wet.
- Once you’ve gone over the full area with the damp mop, take a final dry pass using a clean microfiber mop head or cloth to soak up any residual moisture. Allowing hardwood to air dry completely prevents streaking or water spots.
For a deeper house cleaning to remove caked-on grime or stuck-on stains, you may need to break out some gentle scrubbing power. Make a paste with baking soda and water, gently rub it into the affected area using a microfiber cloth, then wipe away. Avoid harsh scrubbing as this can damage the wood.
Bring the Shine Back: Fixing Scratches on Wood Floors
Even with the most diligent hardwood cleaning routine, scratches and scuffs are bound to happen on high-traffic wood floors over time. The good news? There are some easy DIY fixes for refreshing and cleaning hardwood floors and restoring that glossy shine.
- For minor surface scratches, try rubbing them with a wood furniture repair marker or crayon in a matching stain shade. The wax fills in the scratch, camouflaging it against the surrounding grain.
- If the scratches are deeper, you may need to do some light sanding. Use a fine 200-grit sandpaper and sand in the direction of the wood grain until the scratch is no longer visible. Afterward, apply a wood floor revitalizer solution or paste wax to restore that smooth finish.
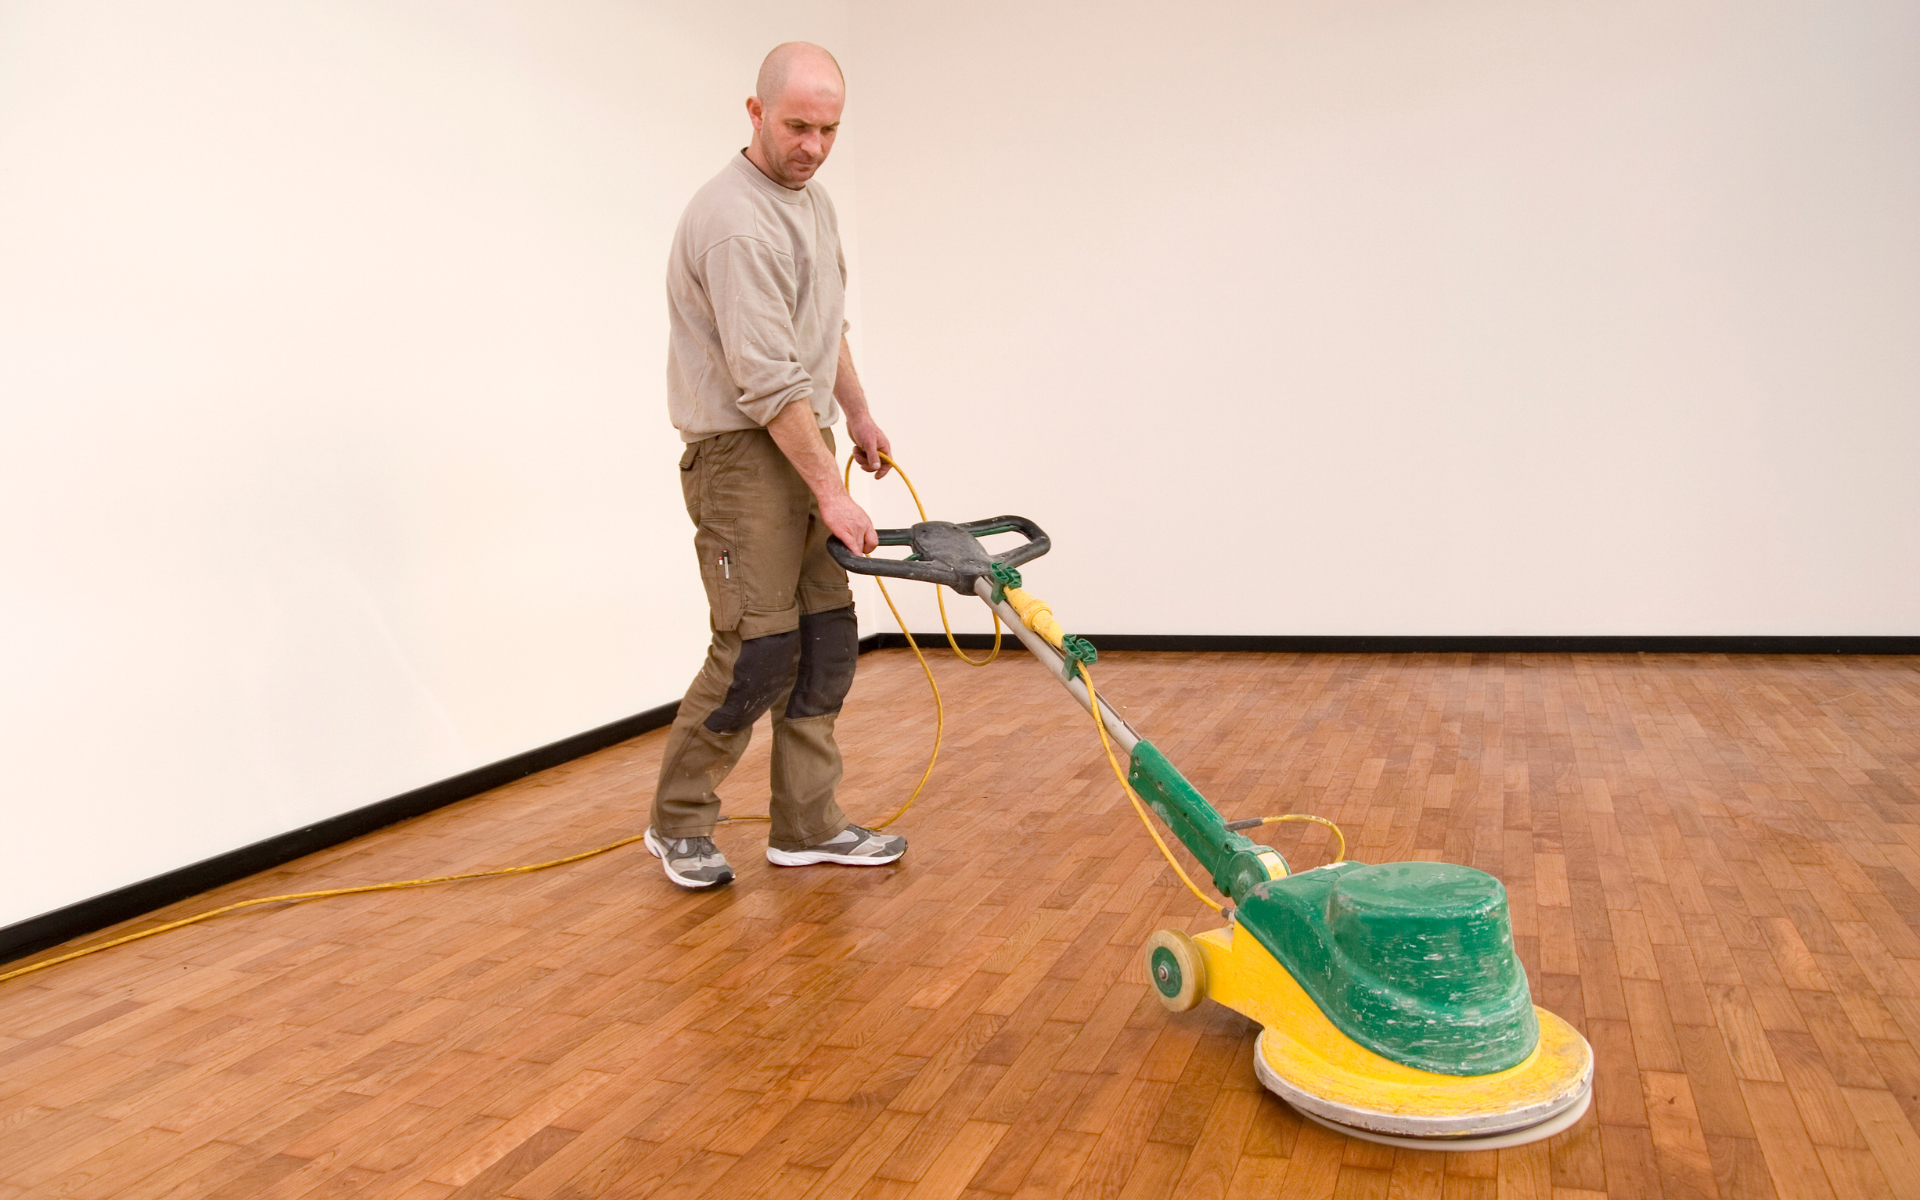
- For really stubborn scratches or gouges, your best bet may be to hire a professional hardwood floor refinisher. They have heavy-duty tools and expertise to sand and refinish problem areas while blending them seamlessly with the rest of your floors.
Hardwood Floor Cleaning: What NOT to Do
Just as important as knowing the right ways to clean hardwood floors is understanding what you should never, ever do. Despite their durable reputation, hardwood floors can be easily damaged by improper cleaning techniques or harsh products. Avoid these big no-nos:
- Never use a traditional mop and bucket for wet mopping hardwood. The excessive water and sloshing is a fast track to warping those wood planks.
- Similarly, steer clear of steam mops which force hot vapor into the wood grain, running the risk of cracking or discoloration over time.
- Ditch the harsh chemical cleaners like ammonia or bleach – these can dull and pit hardwood floors’ finishes.
- Say no to wax-based cleaners and polishes, which leave behind a sticky residue that attracts even more dirt and grime.
- Don’t let spills sit – immediate cleanup prevents stains from setting and damaging the wood.
- Avoid walking on hardwoods with outdoor shoes as much as possible to prevent tracking in dirt and scratches.
Common Home Cleaning Tips For Floor Stains and How to Remove Them
Even with the most diligent and deep cleaning and routine, stains are inevitable on hardwood floors. From pets to food spills, some stains require a bit of extra muscle to remove. Here are some of the most common culprits and the best ways to tackle them:
Pet stains (urine, vomit, etc.)
According to The Spruce, the best way to remove pet stains is to use an enzymatic cleaner. These cleaners contain bacteria that break down the compounds in the stain at a molecular level. Let the cleaner soak for 10-15 minutes before blotting with a clean cloth. You may need to do this multiple times for tough, set-in stains.
Food stains (grease, oil, etc.)
For grease or oil stains, Martha Stewart recommends making a paste with baking soda and vinegar. Let it sit on the stain for several minutes to allow the baking soda to absorb the grease, then scrub it with a microfiber cloth. Rinse the area with clean water.
Ink/marker stains
Based on recommendations from Bob Vila, rubbing alcohol is one of the best solvents for removing stains and ink stains from wood floors. Dip a cloth in some rubbing alcohol and blot repeatedly at the stain until it transfers to the cloth. Go slowly and don’t rub too vigorously.
Red wine/fruit juice stains
Make a paste with baking soda and hydrogen peroxide for these tannin-based stains. The baking soda is a mild abrasive while the hydrogen peroxide acts as a bleaching agent. Let it sit for a few hours before wiping it away.
With the right techniques, you can banish even the most stubborn stains and get your hardwood floors looking as good as new.

Preventative Maintenance Tips for Hardwood Floors
Let’s be real – the best hardwood cleaning routine is the one where you barely have to clean hardwood floors at all! With a few simple preventative maintenance steps, you can drastically minimize the dirt, grime, and overall wear on your wood floors from the get-go:
- Use area rugs or runners in high-traffic zones like hallways and entryways to trap incoming muck before it has a chance to get ground in.
- Install floor protectors under furniture legs to prevent dents and scratches when moving pieces.
- Keep pets’ nails trimmed for added scratch protection and consider outfitting them with nail caps.
- Open blinds and drapes regularly to reduce sun damage and fading caused by UV rays.
- Schedule regular deep cleanings every few months using the steps outlined earlier.
Follow these cleaning tips, and your beautiful hardwood floors will maintain that radiant showroom shine for years to come!
Final Thoughts
At the end of the day, keeping hardwood floors in pristine condition doesn’t have to be a struggle. It comes down to establishing a consistent cleaning routine using the right tools and techniques. Get in the habit of daily steam mopping, dry mopping, and weekly damp mopping with a premium wood floor cleaner. Act quickly to clean any spills or stuck-on grime before stains can set in.
And remember, some level of wear is inevitable with wood flooring, especially in high-traffic areas. That’s where stocking up on scratch repair supplies and learning simple refinishing tricks can be a game changer. With creative ingenuity and a little elbow grease, you can keep those hardwood floors gleaming beautifully for years to come. It’s all about finding the groove that works for your home’s needs.