Dingy floors got you down? Grimy grout lines make your bathroom feel more like a dungeon than a spa. Don’t despair – restoring tile and grout to a sparkling clean state is possible with the right techniques. This comprehensive guide will equip you with the know-how to erase even the most stubborn stains. We’ll cover the best tile and grout cleaning tips, from convenient cleaners you can whip up at home to professional strength formulas that banish grime for good.
You’ll get step-by-step instructions for targeting all grout surfaces – floors, walls, showers, and more. With a few simple habits, you can keep tile and grout looking freshly installed. A cleaner, healthier home starts with clean floors and grout. So grab your scrub brush and let’s tackle that grime!
What is Grout? An Overview of This Essential Tile Material
Grout is a cement-based material used to fill the seams between tiles on floors, walls, countertops, and other surfaces. The word “grout” comes from the French word “grou” meaning coarse meal or grains.
Grout has been used for centuries to build strong structures. The Romans incorporated lime mortar grout into their brick and stone buildings. In the Middle Ages, builders used clay-based grouts. Portland cement was later developed in the 1800s, allowing for more durable and water-resistant grout.
Modern grout now comes in different formulations specifically designed for specific uses:
- Sanded grout contains fine sand and is best for floor tile with joints 1/8 inch and wider. The sand allows it to harden firmly.
- Unsanded grout is smoother and used for wall tiles and narrow floor joints. It resists shrinking and cracking.
- Epoxy grout is a chemical-resistant two-part resin used for countertops, showers, and other wet areas. It blocks stains and withstands abrasion.
- Colored grout comes pre-mixed in shades of white, gray, and other hues. This creates decorative joint lines between tiles.
No matter the formulation, grout provides crucial structural support by sealing gaps between tiles. It prevents moisture seepage that can damage the subfloor. Proper grouting is key to a long-lasting, durable tile floor installation. Keeping grout lines clean maintains the integrity and appearance of the flooring.
The Risks of Dirty Grout
It may seem harmless, but letting grout get too dirty can cause problems:
- Grimy grout provides a breeding ground for mold, mildew, and bacteria that pose health hazards.
- Stains make the flooring look unclean and dated. This decreases the value of your home.
- Dirt gets ground into the porous grout, making it harder to clean later.
- Cracked or damaged grout from neglect can allow moisture underneath tiles causing extensive damage.
Protect your investment and health by keeping grout clean. Try these solutions for restoring dingy, stained grout.
Signs You Need Tile and Grout Lines Cleaning
How can you tell when your grout white tile floors need more than just a quick mopping? Watch for these signs your grout needs a deep clean:
- Grout appears dark, stained, or discolored
- Dirt is deeply embedded in grout lines
- Grout looks cracked, pitted, or uneven
- Grout lines have a grimy buildup
- Floors feel gritty even after mopping
- Tile floors smell musty or moldy
- You see soap scum or hard water marks
Schedule regular deep cleaning sessions every month or two to keep grout looking fresh.
Effective Grout Cleaner Solutions
Cleaning products made specifically for grout make the job easier. Look for an acid-free formula that won’t damage delicate surfaces.
Grout Cleaner Pens
Grout cleaner pens allow you to precisely target grime buildup by drawing the angled nib along grout lines to lift out debris. The cleaning solution flows down to break up stuck-on dirt. Pens are great for quick touch-ups and spot cleaning, so keep one handy for tackling stains as they happen.
Enzymatic grout cleaners
Enzyme-based cleaners work well on organic stains like mold, mildew, and bacteria in grout lines. The enzymes break down the organic matter so it can be scrubbed away more easily. Apply an enzymatic cleaner generously over the affected area and let it sit for 5-10 minutes before agitating with a stiff grout brush.
Oxygen bleach cleaners
Oxygen bleach cleaners use the cleaning power of oxygen to break up discoloration and lift stains without chlorine. They are a chlorine-free way to avoid bleaching or fading of grout color. Oxygen bleach cleans without the harsh smells and fumes of chlorine bleach. Let an oxygen bleach cleaner bubble and penetrate the grout for 10-15 minutes before you start scrubbing it. Check that the formula is safe for any colored grout before use.
Acidic grout cleaners
For unsealed grout and tile, acidic cleaners help dissolve mineral deposits and hard water buildup. The acids etch away dingy layers and whiten the surface. Only use acidic cleaners on ceramic, porcelain, or quarry tile, avoiding natural stone surfaces that can be damaged. Rinse acidic cleaners thoroughly as residue left behind can erode grout over time. Use an acidic cleaner once or twice a year for a deep clean.
Homemade Grout Cleaner
According to The Home Depot’s grout cleaning guide, scrubbing grout lines with an old toothbrush allows you to apply targeted pressure to loosen dirt in narrow crevices. Using a tool with soft bristles prevents scratching the surface.
Make your own gentle but effective grout cleaner at home:
- Baking Soda Paste: Mix a paste of 1 part baking soda with 1 part water. Spread onto grout lines and let sit briefly before scrubbing clean. Rinse thoroughly.
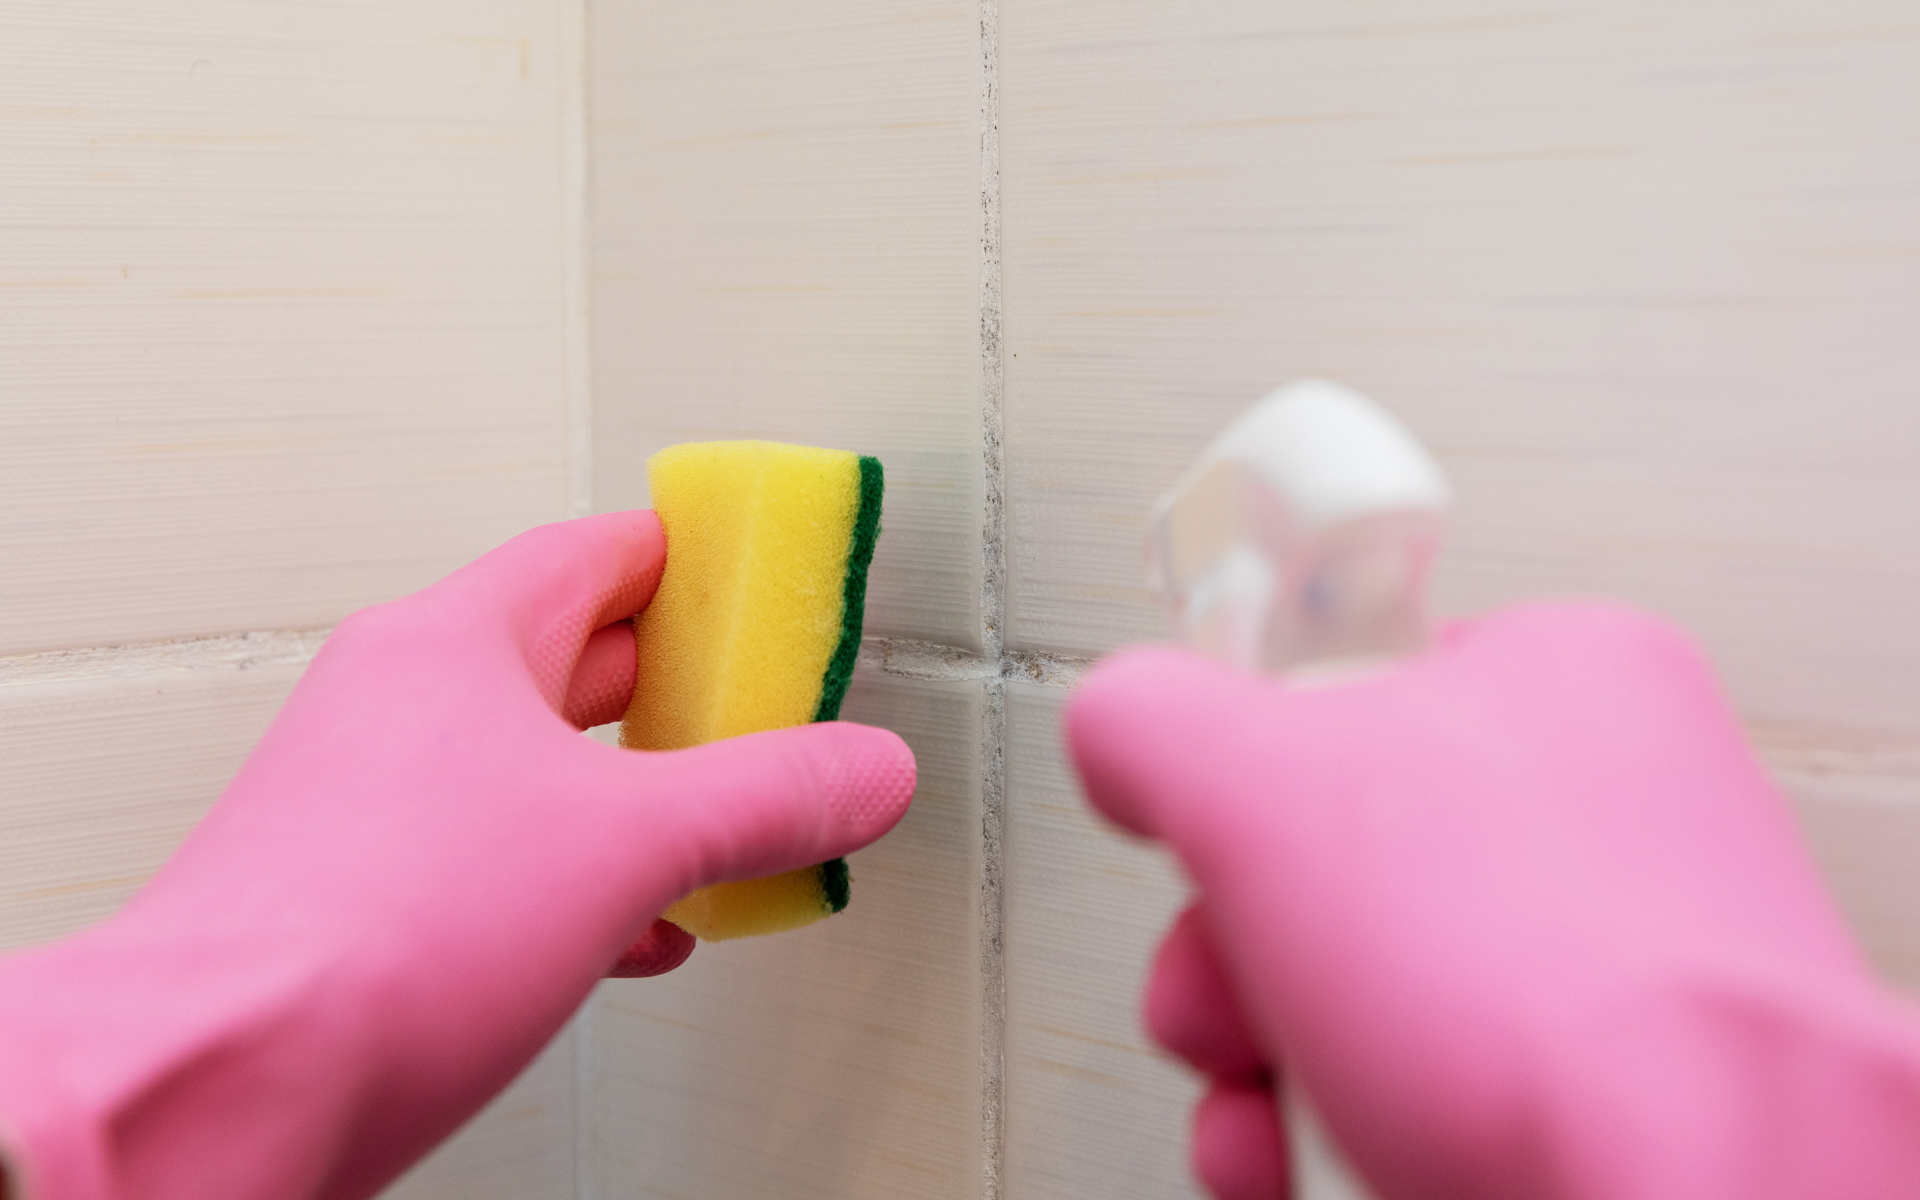
- Vinegar Solution: In a spray bottle combine 2 parts white vinegar and 1 part water. Spritz over grout then scrub with a brush. Wipe away residue.
- Hydrogen Peroxide Mix: Combine 1 part hydrogen peroxide, 2 parts baking soda, and 2 parts warm water in a spray bottle. Spray grout lines and let bubble for 10 minutes before scrubbing.
Target all Grout Surfaces
Grout needs regular cleaning and maintenance on floors as well as porous surfaces such as countertops, showers, backsplashes, and any other areas with grout lines. Tailor your approach depending on the surface.
Floor Grout
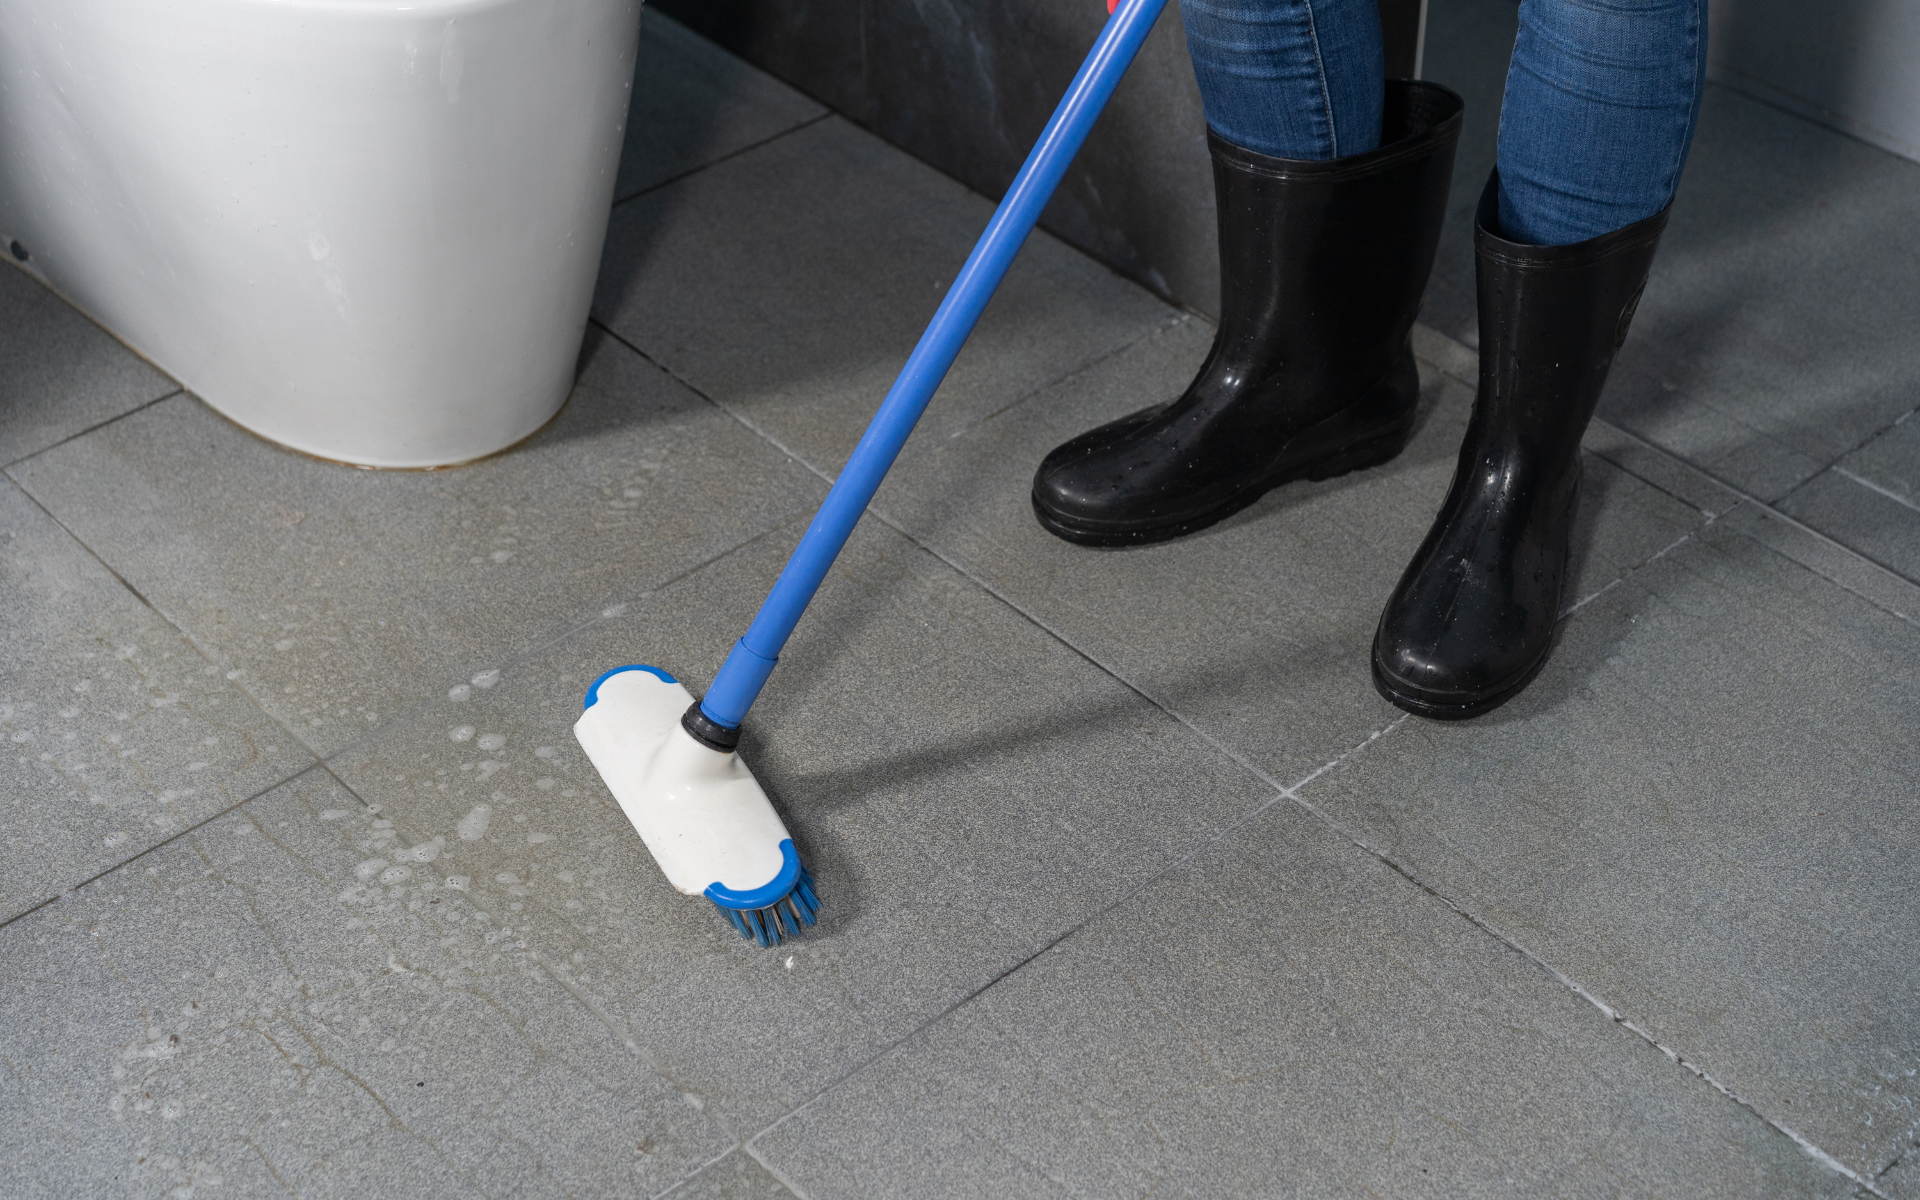
- Use a specialty MudBuster Grout Brush with a long handle to scrub floor tile grout lines.
- The stiff, sturdy bristles allow you to apply targeted pressure across wide grout joints.
- Scrub diagonally across the grout lines to get the best cleaning action from multiple directions.
- Adjust the angle and grip until the bristles dig down into the joints to lift out debris.
- Scrub the entire floor grout lines in sections for complete coverage.
Countertop Grout
- For narrow countertop grout lines, use a handheld grout brush or an old toothbrush.
- Spray or apply grout cleaner directly onto the grout lines.
- Let the cleaner sit for 5 minutes to penetrate stains before scrubbing.
- Use short, repeated back-and-forth strokes with the brush held at a 45-degree angle along the grout.
- The angled brush concentrates the bristles down into the grout to lift out grime.
- Wipe countertops clean with a dry cloth after scrubbing to remove all residue.
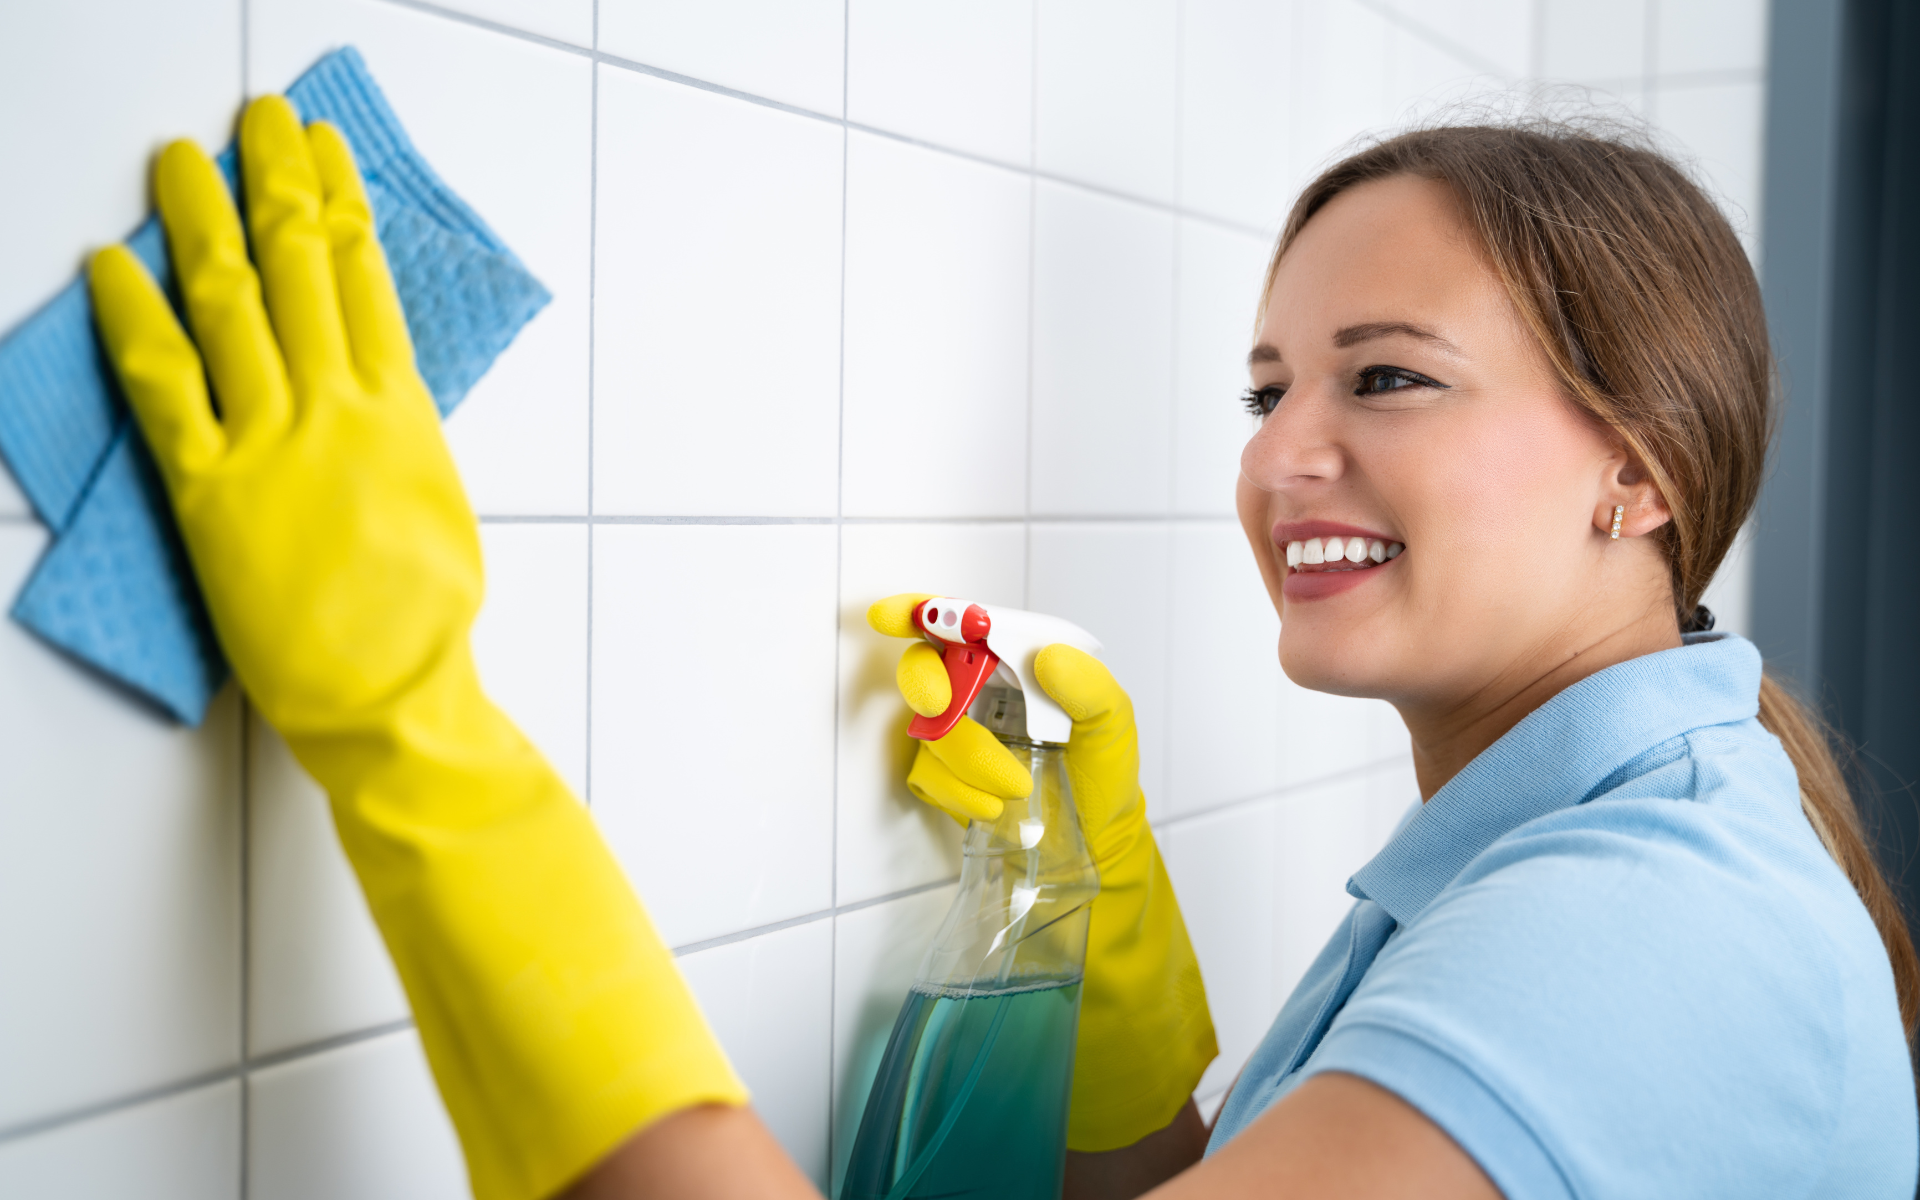
Shower and Backsplash Grout
- For vertical shower walls and backsplash, use a handheld grout brush.
- Apply a homemade paste of baking soda and water or thick gel enzymatic cleaner.
- Spread the cleaning mixture over the grout lines with the brush using even, forceful strokes.
- Let the cleaner dwell for 10-15 minutes to allow it time to penetrate and loosen buildup.
- Scrub vigorously side-to-side across all grout lines until they appear clean.
- Carefully rinse walls thoroughly with clean water to avoid streaking.
Deep Cleaning and Maintenance
Regular light cleaning keeps grout fresh. Schedule deep cleans periodically as well.
Daily Light Cleaning
- Quick daily light cleaning removes surface dirt before it can build up.
- Sweep or vacuum floor tile daily to lift dirt and debris that can grind into grout lines.
- Use a lightly dampened microfiber mop to wipe floors. This picks up dust and dirt from tile and grout.
- Spot mop any visible spills or stains. Don’t let anything sit on the floor.
- Monthly mopping takes just a few minutes but prevents major buildup between deep cleans.
Weekly Maintenance
- Once a week, spray grout lines directly with a specialized tile and grout cleaner.
- Let the cleaner soak and penetrate stains for 5 minutes before scrubbing. This dwell time improves cleaning results.
- Use a stiff nylon scrub brush and scrub forcefully along the length of the grout lines.
- A bit more scrubbing diagonally across joints from all angles lifts out more grime than scrubbing in just one direction.
- Wipe away all residue with a clean cloth and rinse any remaining cleaner.
Monthly Deep Cleaning
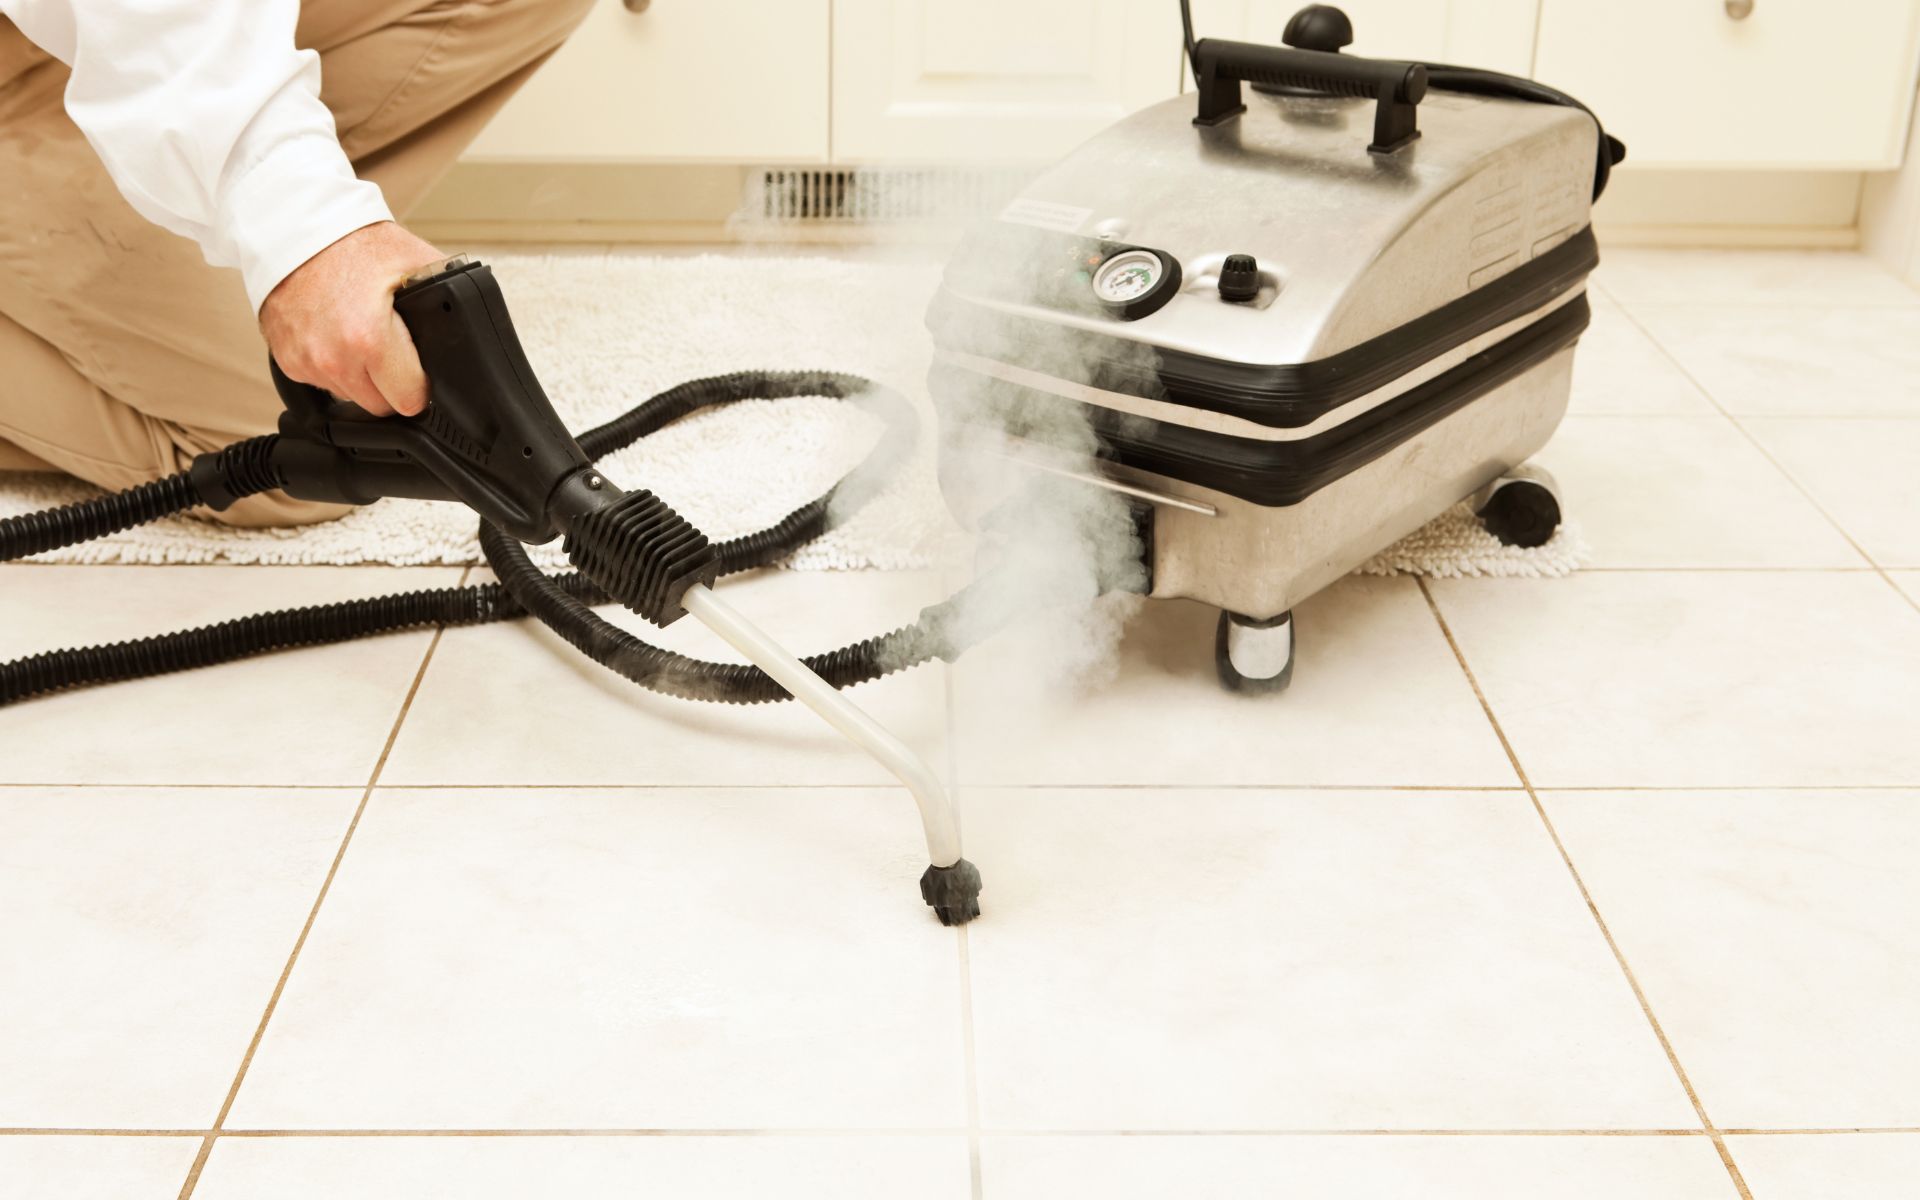
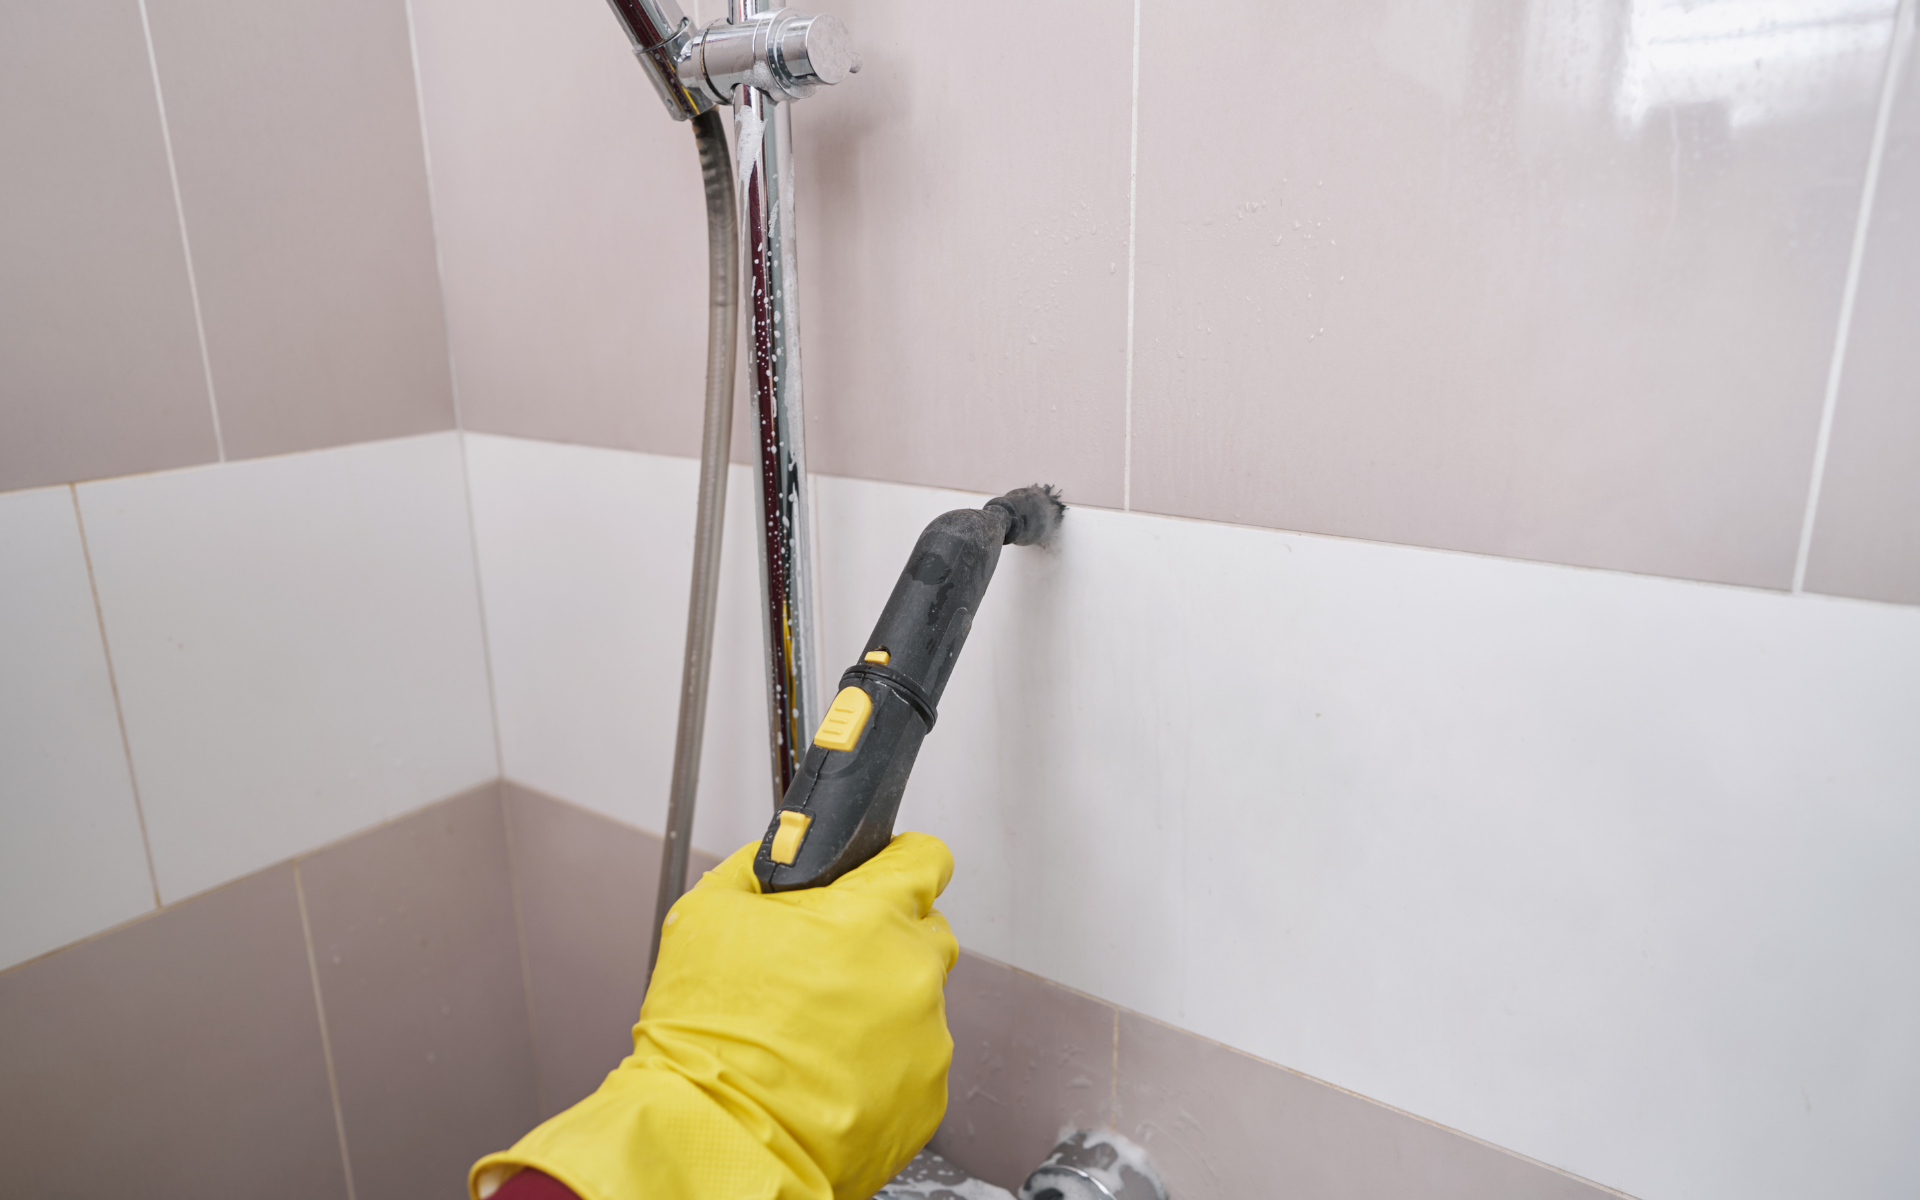
- For a thorough periodic deep clean, use a steam cleaner on tile floors.
- The super-heated steam helps soften and dissolve built-up gunk and deposits in grout pores.
- After steam cleaning, scrub all grout lines rigorously with a brush to lift the loosened grime to the surface.
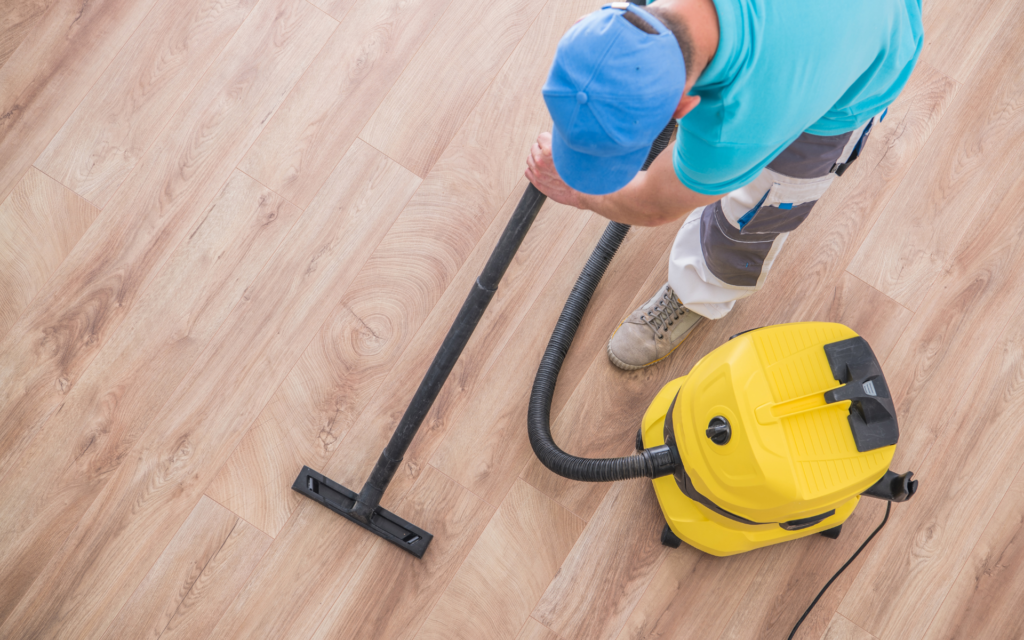
- Vacuum up all the residue that results from scrubbing using a wet/dry shop vacuum.
- Check for remaining dingy areas and spot clean as needed for a uniform appearance.
- Finish by sealing cleaned grout lines to protect surfaces.
Grout Cleaning Prevention Tips
Stop stains before they start with these easy tips:
- Seal grout when newly installed and periodically after for protection.
- Immediately wipe up spills and messes on tile floors. Don’t let them sit.
- Sweep debris that can grind into grout off floors daily.
- Run a humidifier to reduce soap scum buildup in bathrooms.
- Use fabric or microfiber mats at entryways to reduce dirt tracked in on shoes.
- Spray tile and grout with cleaner after using the shower to prevent soap scum.
Regular grout maintenance is the best prevention against major staining issues down the road.
Tile and Grout Cleaning Tips and Tricks
Follow these tips to improve results:
- Wet grout first before spraying cleaner to help penetrate the surface.
- Let cleaners sit on grout lines for 5-10 minutes before scrubbing to lift stains.
- Always scrub diagonally across grout lines for best results.
- Use an old toothbrush for cleaning narrow grout lines.
- Rinse tile floors twice to remove all cleaner residue.
- Perform a test in an inconspicuous area first to check cleaner safety.
- Re-seal grout lines annually to protect them from future stains.
- Increase ventilation during cleaning by opening windows.
Following these simple but effective techniques will give you sparkling grout that looks professionally cleaned.
Common Mistakes to Avoid
Steer clear of these amateur errors during grout cleaning:
- Using bleach or vinegar on grout. This can dissolve and damage the surface.
- Applying acidic cleaner to natural stone tile. Check cleaner safety first.
- Letting spills or messes sit on grout allows stains to set.
- Scrubbing only in one direction. Multi-directional scrubbing is best.
- Forgetting to rinse floors thoroughly after cleaning. Harsh chemicals left behind can damage the grout.
- Using dirty equipment. Always start with fresh brushes, sponges, and mops.
- Mixing cleaners that should not be combined. Read labels for compatibility.
- Failing to protect walls, cabinets, and baseboards from splashback. Use paper or plastic sheeting.
By being aware of what not to do, you can ensure your grout cleaning efforts are safe, effective, and free of amateur errors.
Professional Tile and Grout Cleaning Service
Some very dirty tiles may require calling in a professional cleaning service. Look for companies experienced in grout and ceramic tile cleaning.
Why Hire a Pro?
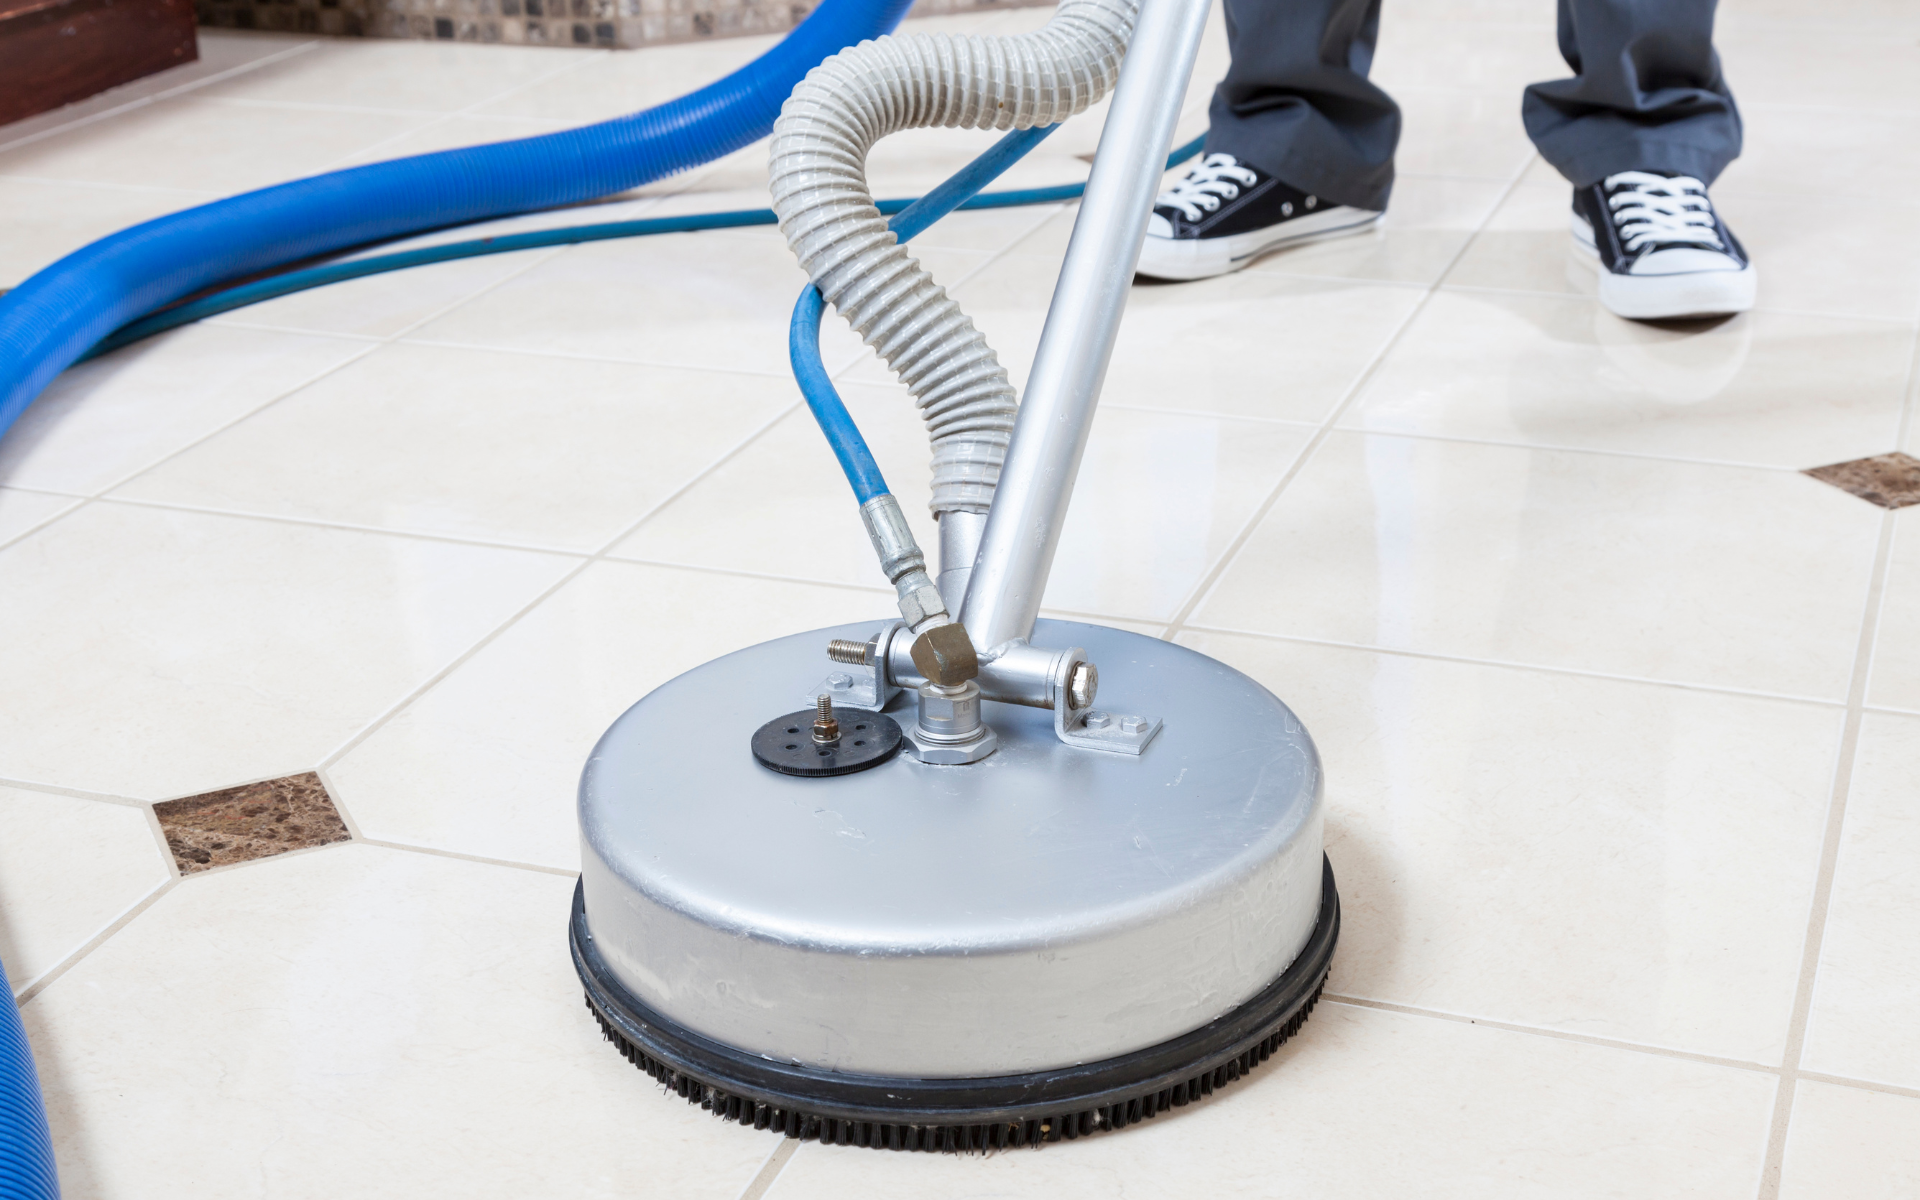
There are clear benefits to calling in professional tile and grout cleaners for really dirty surfaces. Tile cleaning services have industrial-strength equipment and solutions that set them apart from DIY methods. Professionals use truck-mounted steam cleaners that heat steam to over 300°F. This superheated steam can penetrate and dissolve years of compacted grime and residues.
They also have heavy-duty motorized scrubbers with rotating heads that can power through built-up gunk inside deep grout pores. Their powerful wet/dry vacuums extract all the loosened dirt leaving floors impeccably clean. With high-pressure spray wands, they can precision clean vertical tile in showers to remove soap scum and hard water buildup.
Professionals also have access to stronger enzymatic and degreasing solutions for stubborn oil stains that DIY cleaners can’t tackle. Their arsenal of equipment and commercial cleaners can refresh tile and erase stains high high-traffic areas that regular scrubbing won’t fix.
What to Expect
The cleaners will:
- Evaluate the type of tile and grout to select appropriate cleaners
- Protect walls, cabinets, and baseboards from cleaning solutions
- Apply cleaners and let dwell to penetrate stains
- Use machines to scrub and then extract dirty solution
- Rinse floors thoroughly with clean water
- Apply grout sealant and pH-balancing solutions
The result is a wipe-clean, sparkling tile and grout that looks new again!
Final Thoughts
Grout might seem forgettable, but this cement-based material plays a crucial role in holding your beautiful tiles together while taking the brunt of dirt and tough stains. Neglected, grimy grout can become a breeding ground for bacteria and ruin the look of pristine floors. However, armed with the right tools and techniques, you can maintain grout that appears freshly applied.
This comprehensive guide equips you to erase even the most stubborn tile cleaner grout stains through the power of enzymatic cleaners, oxygen bleach, and good old elbow grease. Put these tips into practice, and you’ll keep your tile and grout in magazine-worthy condition. With some periodic upkeep, your floors will transition from drab to dazzling. Go forth and make that grimy grout shine!


